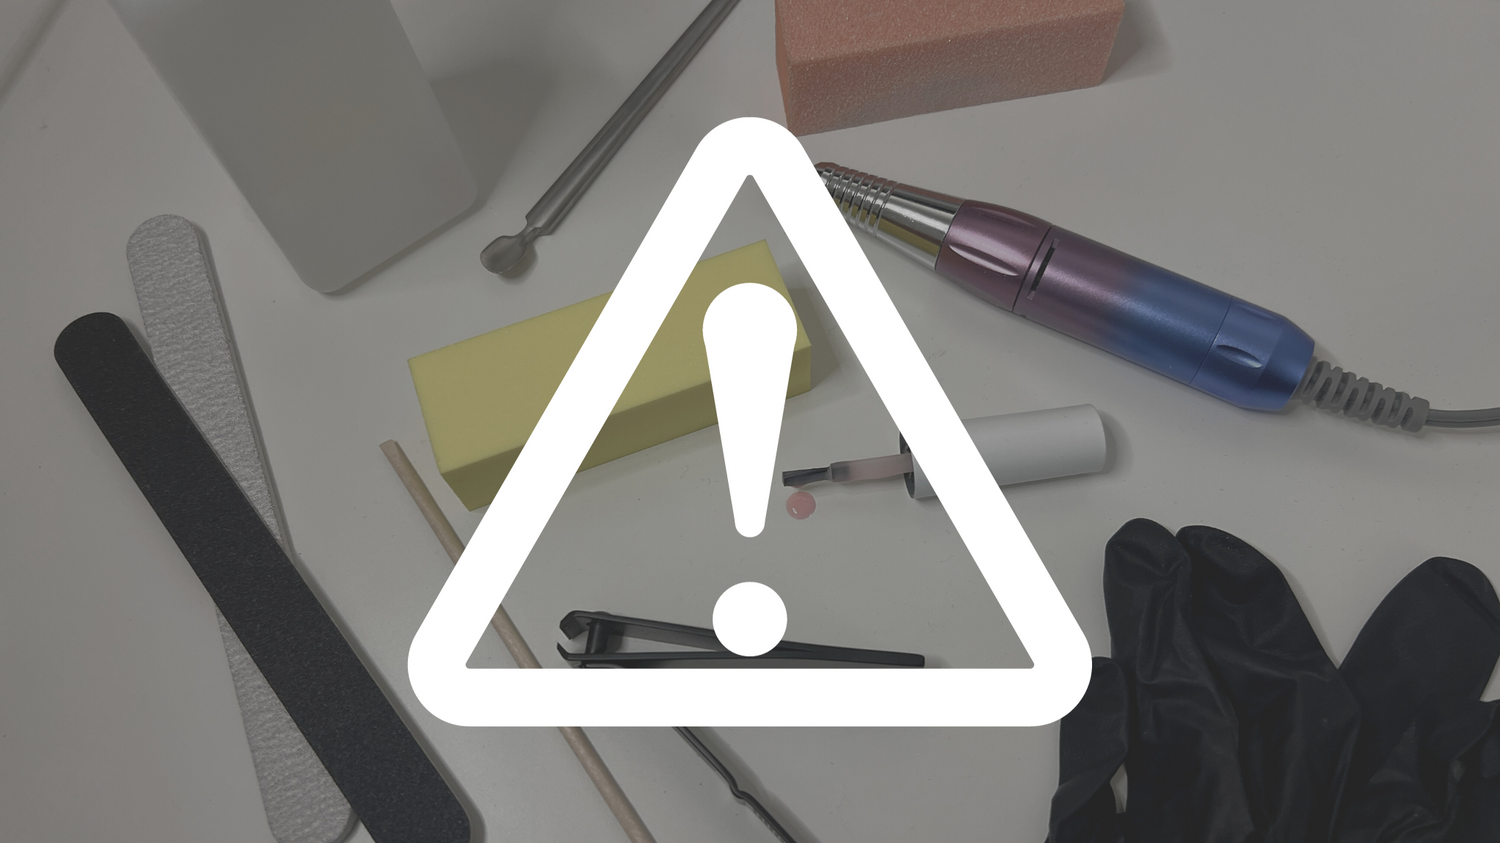

The vast availability of nail products becoming more accessible along with a plethora of nail tutorials on the internet enables anyone with an interest in nails to easily explore nail art. With this opportunity, nail care and nail art are not limited to just professional nail technicians or the nail salon setting. Anyone can learn and experiment with different techniques and designs, even in the comfort of their own home. Regardless of whether you do your own nails or provide nail services for others as a nail professional, there are some important and precautionary practices that should always be implemented to protect you and your clients’ overall health and wellbeing. Although these precautions can be applied when using any kind of nail product, we’ll focus on important practices when working with gels.
Avoid the development of allergic reactions to gel products
Certain ingredients are used in gel products to help the gel better adhere to the natural nails. Some of these ingredients include hydroxyethyl methacrylate (HEMA) and isobornyl acrylate. While high quality gels (including the gel brands available at Sweetie Nail Supply), when used as intended, generally contain safe levels of these ingredients in their gel formulations or are completely HEMA-free, overexposure through repeated or prolonged contact of these ingredients with the skin in uncured and under-cured gel can possibly lead to a development of skin irritation or allergic reactions, causing symptoms that can include swelling, redness, itchy rashes, and dry scaly skin. Once an allergy to HEMA or other nail product ingredients develop, it is often irreversible and can result in no longer being able to use them without a reaction. When using gel products, there are some important precautions to take to minimize the potential of developing allergic reactions to gels.When applying any kind of gel to the nails, always avoid getting gel products on the skin. If you happen to get product on the skin, clean off the gel immediately using a wooden cuticle stick to gently scrape off the gel or using a cotton swab with acetone to wipe the gel off. Always wash hands with soap and water after providing gel nail services or doing your own gel nails to remove any product residue. Use a nail brush with soap and water to scrub the cuticle areas and underneath the nails to ensure the nails and hands are clean of product.
If you are just starting out on your nail journey with gels, sometimes getting gel on the skin can occur as you practice gel application. If this is the case, use clear tape or a peel-off liquid (latex and latex-free options) to protect the skin surrounding the nails as you practice and improve your gel application.
Another option is to opt for HEMA-free gels such as mithmillo, DGEL, and DVOK to minimize the possibility of sensitization, as HEMA is commonly the most sensitizing ingredient in gel products. However, you should still be careful to not get gel on the skin as repeated skin contact with other ingredients can still potentially cause skin irritation or related symptoms. Always take your time to carefully apply gel onto the nails, applying the gel in a thin layer to prevent flooding at the cuticle area and to allow the gel to cure thoroughly when used with a compatible nail lamp.

There are further precautions to take when it comes to curing gels as under-cured gel can lead to gel enhancements that are prone to chipping, lifting, and worse case scenario, cause skin irritation or sensitization. Over-cured gel can cause overheating (intense heat spikes) and discomfort of the natural nails and also result in discoloration, shrinking, and lifting. Under-cured gel can be challenging to identify or even unidentifiable as the gel will appear hardened while underneath, the gel may not have been thoroughly cured. Wrinkling of the gel or tackiness after curing can be indicators of under-cured gel. The process of properly curing gels is more complex than placing your hand inside a nail lamp.
Several important factors go into properly curing gels, such as the UV wavelength needed by hardening ingredients in the gel inorder to properly cure by at least 90%, the range of UV wavelengths that can be emitted by the nail lamp, the intensity of the emitted wavelengths, the time span of UV exposure, and the thickness of the gel product, which all need to be compatible in order to properly cure gels. Different brands of gel may have different gel formulations, requiring slightly different UV wavelengths and UV exposure times for curing, and not all nail lamps are compatible with all gels for proper curing. Even factors such as the design of a nail lamp can affect gel curing results, depending on the shape of the nail lamp or the distance of the lamp’s lights from the intended placement of the hand. There are also different types of nail lamps such as LED or UV/LED, all with slightly different features, specifications, and design.
These variables make it difficult to determine which nail lamp will effectively cure your gel, as the various factors are not always easy to identify, and some necessary specifications may not be readily accessible to gel product and nail lamp users. Therefore, the surest way to optimize proper curing is to use a nail lamp recommended by the brand or manufacturer of the gels you use and to follow their instructions for gel usage and curing.
When the gel and nail lamp are compatible, additional steps you should take to maximize proper curing conditions include applying the gel in a thin layer so it can be penetrated by the UV light emitted by the nail lamp to fully cure, making sure that the hand is placed correctly inside the lamp and the nails are fully exposed to the lamp lights, and curing the gel in the lamp for at least one minute, or as instructed by the gel manufacturer. Following these steps can help in optimizing proper gel curing and minimize the risk for adverse skin reactions.
If any skin irritation or allergic symptoms occur or if you have known HEMA allergies, always consult with a healthcare professional for diagnosis, treatment, and to determine whether HEMA-free gel options are suitable for your use. If symptoms occur on a nail client, nail service providers should refrain from offering any health-related diagnosis and advise the client to see a healthcare professional.
Prevent thin and weakened nails

Nail preparation often requires buffing the nails to remove oils and shine while removal often requires filing down gel for easy soak-off. Whether you use a hand file or e-file, it’s important to be gentle as over-buffing and over-filing can create thin and weak nails. For nail preparation, use a light touch with barely any pressure to gently buff the nails as needed. For removal, as higher grits are often used to remove the bulk of the gel, leave a thin layer of gel on the natural nails for a less intensive removal in care of the natural nails. This thin layer can be soaked off using acetone or gently buffed off using a softer grit. Preventing thin and weakened nails also means not picking or peeling off gel from the nails. Always invest time for proper removal.
Protect your lungs

When working with gels and other nail products, it is important to work in a well-ventilated area to allow fresh air circulation. Compared to acrylic monomers, gels have noticeably less odor, but the acrylates and other ingredients in gels may still give off subtle fumes. It’s important to keep your area well-ventilated to allow fresh air to help remove any air pollutants resulting from working with gels and nails, especially if you are working with gels all day long as a nail service provider.
More importantly, when buffing the nails or removing gel, especially with an e-file, it is extremely important to use a nail dust extractor and wear a dust mask. This helps reduce nail dust and product particles from being airborne and reduces the potential inhalation of these fine particles created during product removal.
If you frequently work with nails, it is also a good idea to invest in an air purifier using HEPA certified filters, meaning it has been tested to trap at least 99.97% of fine airborne particles with a size of .3 microns, to help capture nail and product dust that may not have been captured by a nail dust extractor. It’s an extra, but worthy precautionary step to protect your lungs.
Avoid overusing other nail related chemicals and protect the skin
Overexposure to other nail products may sometimes cause skin irritation and allergic reactions. That’s why it’s important to minimize the use of acetone and cleansing alcohol and avoid frequent skin contact with these products. Not only can they be drying to the hands and nails, but frequent contact with these products can lead to mild to severe skin irritation. If you are a nail service provider, wear gloves to reduce alcohol, acetone, and other nail products coming into frequent contact with your skin as you are likely to be using these products often.If you do your own nails at home, make sure you are only using nail cleansers or cleansing alcohol and acetone when necessary. Plan and streamline your steps to make your process more efficient so you can minimize the need to cleanse the nails often. For removal, file off top gel and gel color and keep soak-off time to only 10-15 minutes or gently buff away remaining product from the natural nails (Subscribe to Sweetie Nail Supply for 10% off and receive a free nail guide including more in-depth instructions on gel removal). If there are any cuts or open wounds, be careful to avoid getting products on these areas.
Consider wearing fingerless hand gloves or sunscreen if you’re changing out gel color or nail designs frequently. Although periodic exposure to LED and UV/LED nail lamps during nail appointments every so often is generally safe, frequently changing out gel color and nail designs every few days or weekly may require some protection. Protecting your hands will minimize exposure to UV-A rays from nail lamps, as frequent exposure may lead to darkening of the skin and the development of premature skin aging.
Use peel-off base coat to reduce frequent acetone removal
If you like changing out gel color or or nail looks frequently, you may want to consider using a peel-off base coat such as Jello Jello One Kill Remover + Peel Off Base Coat Set or Ablliz Peel Off Base Gel for easy removal which is not only more convenient than acetone soak-off removal, but will also help prevent over dehydration of the nails and surrounding skin from the use of acetone. These peel off base coats can keep gel color and nail looks on for a good two to three weeks or until removal, while cutting down removal time and simplifying the gel removal process. Working with gels and creating nail art can be an exciting and rewarding venture. Taking important precautionary steps will not only reduce overall health risks associated with using gels and doing nails, but also promote a long and enjoyable nail journey with gels and allow you to indefinitely experience the fun and beauty of nail art.
Note: This blog post serves as a general overview and guide to bring awareness to important precautionary steps that should be taken when working with gels. Please note that our suggestions, although based on professional nail practices and research, do not take the place of medical or scientific advice and information. We urge readers to do their own research to learn more about the topics mentioned in this blog post. If interested, please email us for resources.
Leave a comment
All comments are moderated before being published.
This site is protected by hCaptcha and the hCaptcha Privacy Policy and Terms of Service apply.