
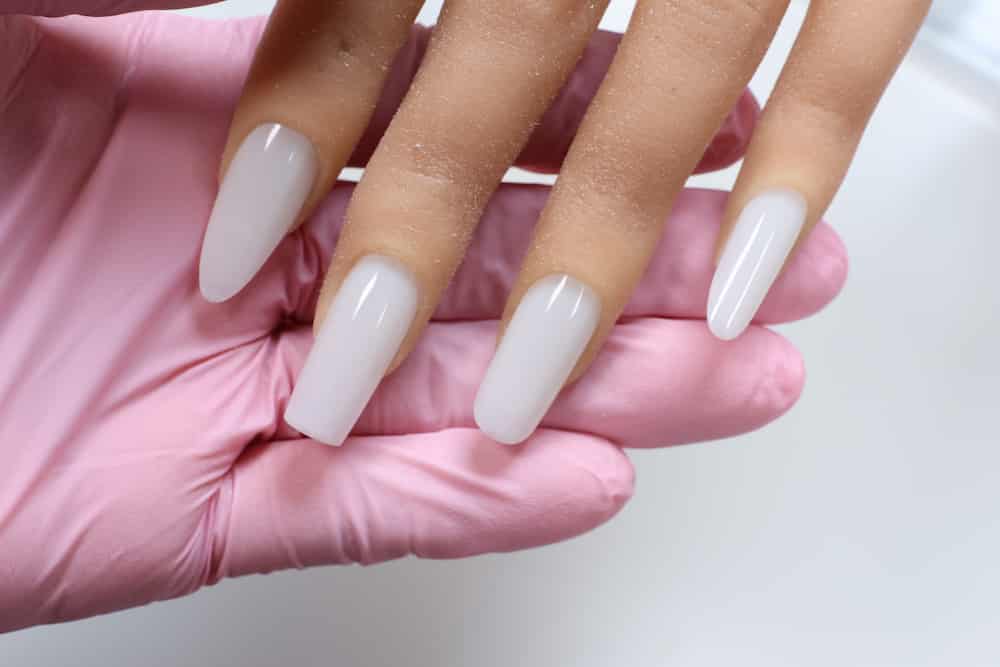

The right nail shape can dramatically enhance the appearance of both your nails and hands. Nail shaping is one of the most important technical steps in creating a polished manicure. Even the most intricate nail art can look unbalanced if the foundation is uneven. A well-shaped nail enhances the appearance of the fingers, improves symmetry, and creates a clean canvas for polish or nail art. While shaping may seem straightforward, it requires careful observation, technique, and consistency. The goal is simply to create a shape that is balanced, symmetrical, and structurally sound.
Before you begin, evaluate the natural nail. Take note of: the natural growth direction; whether the nail curves to one side; if the nails curl inward; the width and length of the natural nails; the length of the nail bed; finger and nail proportions; and any chips, cracks, or weak corners. Every nail is unique. Rather than forcing every nail into an identical outline, work with its natural structure while creating the illusion of consistency across all ten nails.
To shape your nails, identify the finger with the longest nail bed to determine the shortest length of the entire set (the ring finger often has the longest nail bed with the index and middle finger with the shortest nail bed), and trim the nails to your desired length using clean nail clippers. Next, use a high-quality, fine 240 grit file to refine the shape and smooth out the edges. To prevent fraying, file in one direction from the sidewall toward the center, rather than using a harsh seesaw motion.
For nails with extensions or builder gel, use a coarse grit file such as 100 grit to shorten the nail and medium grit file such as 150 to 180 grit to shape the nail. A fine grit 220-240 buffer can be used for refinement.

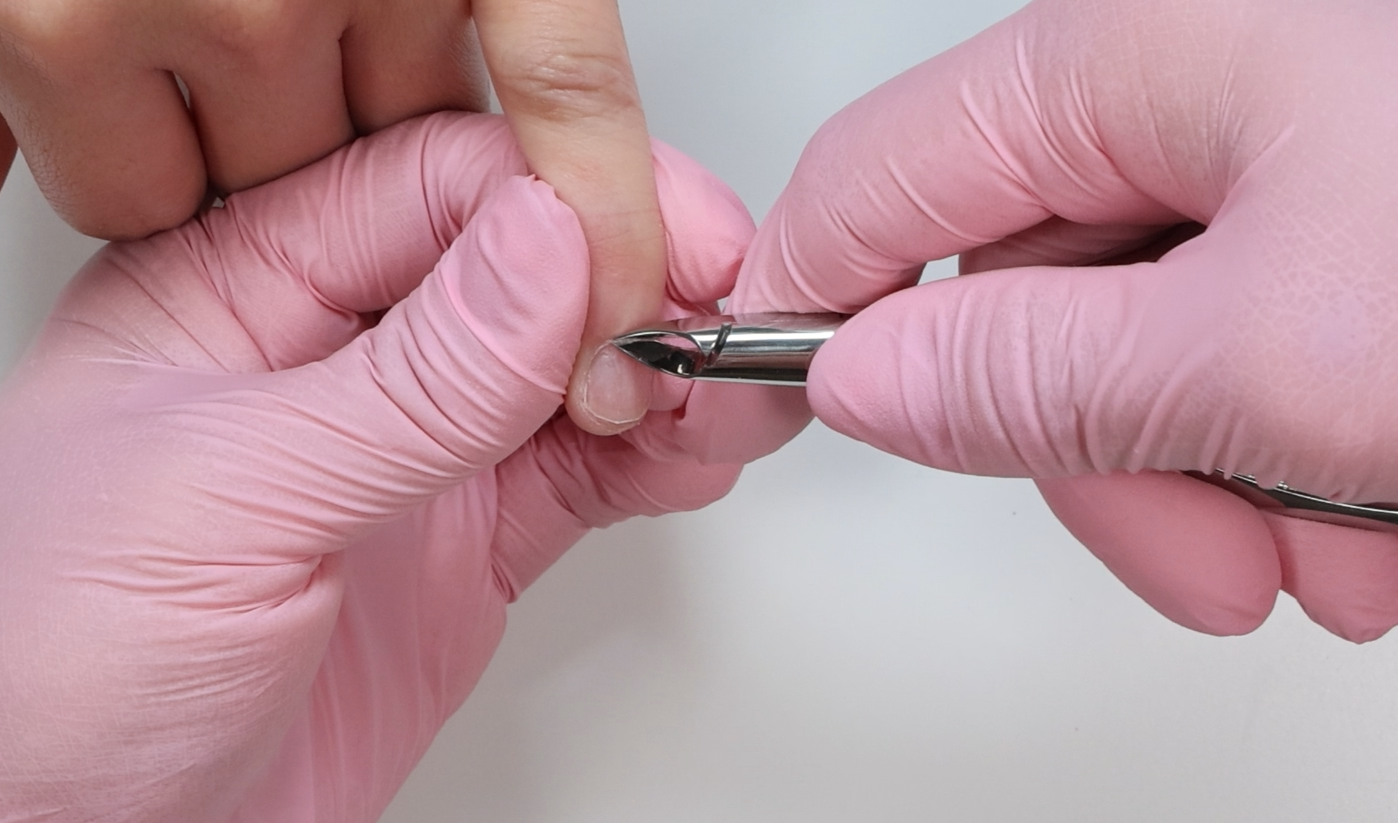
If shaping a client’s nails as a service provider, firmly grip the client’s finger, pulling back the sidewalls and guarding against the client’s skin with your fingers. This helps prevent filing against the skin or potential cuts from the file, which can be uncomfortable or painful. Prior to using a new nail file on the nails, always season it by running a second file along all four side edges to smooth it out. New files often have sharp edges due to manufacturing that can easily slice the skin. Seasoning a new file smooths out these edges, minimizing this possibility and helps protect your clients.

When shaping the sides of the nails, hold the file firmly against the nail and use long, mindful strokes rather than short, choppy motions for more efficient filing and to remove product more effectively. The sidewalls are the most incorrectly over-filed area, but product in this area play the most critical role in the longevity of your enhancements.

Square
File the sides of the nails perfectly straight against the and file the free edge at a 90-degree angle from the sidewalls to achieve a crisp square shape. When filing the free edge, be mindful to avoid rotating the file at all when filing side-to-side. This shape is great for longer, wider, or trapezoidal nail beds in short to medium short length.

Coffin
Start with a square shape, then gradually taper the side of the nails inward toward the center. Keep your file parallel to the sides and use straight, even strokes to create a sharp, symmetrical taper. Finish by filing the free edge completely straight across for the signature flat coffin tip. The coffin shape is best suited for long lengths and long, slender fingers with prominent c-curve; shorter lengths are much more akin to a “tapered square” shape.
The defining feature of both the coffin and stiletto shapes is their straight, tapered sidewalls. Because of this, you can create a coffin shape by simply filing the pointed tip of a stiletto shape into a flat free edge. Likewise, you can create a ballerina shape by filing the pointed tip of an almond into a flat free edge.
The distinction between coffin and ballerina—someting that is often misunderstood—lies in the sidewalls as they approach the flat tip. Coffin nails maintain straighter sidewalls all the way to the free edge, while ballerina nails have a slightly softer, more rounded taper before meeting the straight edge at the tip. A helpful way to visualize the difference is to compare the silhouette of a traditional wooden coffin with that of a ballerina’s pointe shoe.

Round
File the sidewalls straight, then gently round the edges into a soft semicircle. The round shape is ideal for shorter nails that are low-maintenance.
Oval
Looking at the nail from the top view, file the lower sides of the free edge into an oval shape. From the side views, file the lower parallel swooping up to connect the sidewall to the center of the free edge. This will taper the tip into a smooth, elongated curve that follows the shape of the natural cuticle line. An oval shape creates a soft, elegant look that flatters most nail lengths.

Almond
Taper the sidewalls inward toward the center, then soften the tip into a rounded peak. Creates a slender, elongated shape with a delicate almond-like finish. The almond shape is structurally sound and achievable when the free edge is over half the length of the nail bed, and when the nail bed isn’t wider than it is long


Squoval
File into a square shape first, then gently soften the corners into a rounded edge. This shape combines the strength of a square shape with the softness of an oval and is extremely wearable for short to medium lengths.


When shaping, avoid over-filing, especially at the sidewalls. Accidentally digging your file too much into the sidewalls can compromise the stress point of the nails, thinning or pitting the area and potentially cause painful cracks or detachment of the nail from the nail bed. For balance and symmetry, imagine a center line down your nail and file upward toward this line on each side to ensure both halves match. When considering alignment for a crooked finger, imagine connecting a straight line through the knuckle, finger joints, and the nail, and adjust your filing accordingly.
Shapes such as coffin, oval, and almond require more length. If the nails are too short to achieve a coffin, oval, or almond shape, choose from squoval, round, or short square. Alternatively, you can add nail extensions to achieve shapes that require length.
A good nail shape should look intentional, balanced, and complement the natural features of the hand. Take your time and compare each nail from multiple angles as you work. Small adjustments throughout the shaping process will create a more symmetrical result than trying to correct large imperfections at the end. With practice and attention to detail, proper nail shaping becomes second nature and provides the strong, polished foundation every manicure begins with for beautiful results.
For more nail content including nail art how-to’s, swatches, and new releases, follow Sweetie Nail Supply on social media:

Leave a comment
All comments are moderated before being published.
This site is protected by hCaptcha and the hCaptcha Privacy Policy and Terms of Service apply.