
The winter holiday season is a great time to try different fun and festive nail designs. Glitter, chrome, metallics, nail parts, and hand-painted holiday elements are all fair game for winter nails. Snowflake details also make a pretty ornamental design for nails. They’re also easier to create than they look. Here is a tutorial for a winter holiday nail design made with the enchanting pairings of syrup gel, magnetic gel, hand-painted snowflakes, and iridescent film.
What You’ll Need (for nail art only):

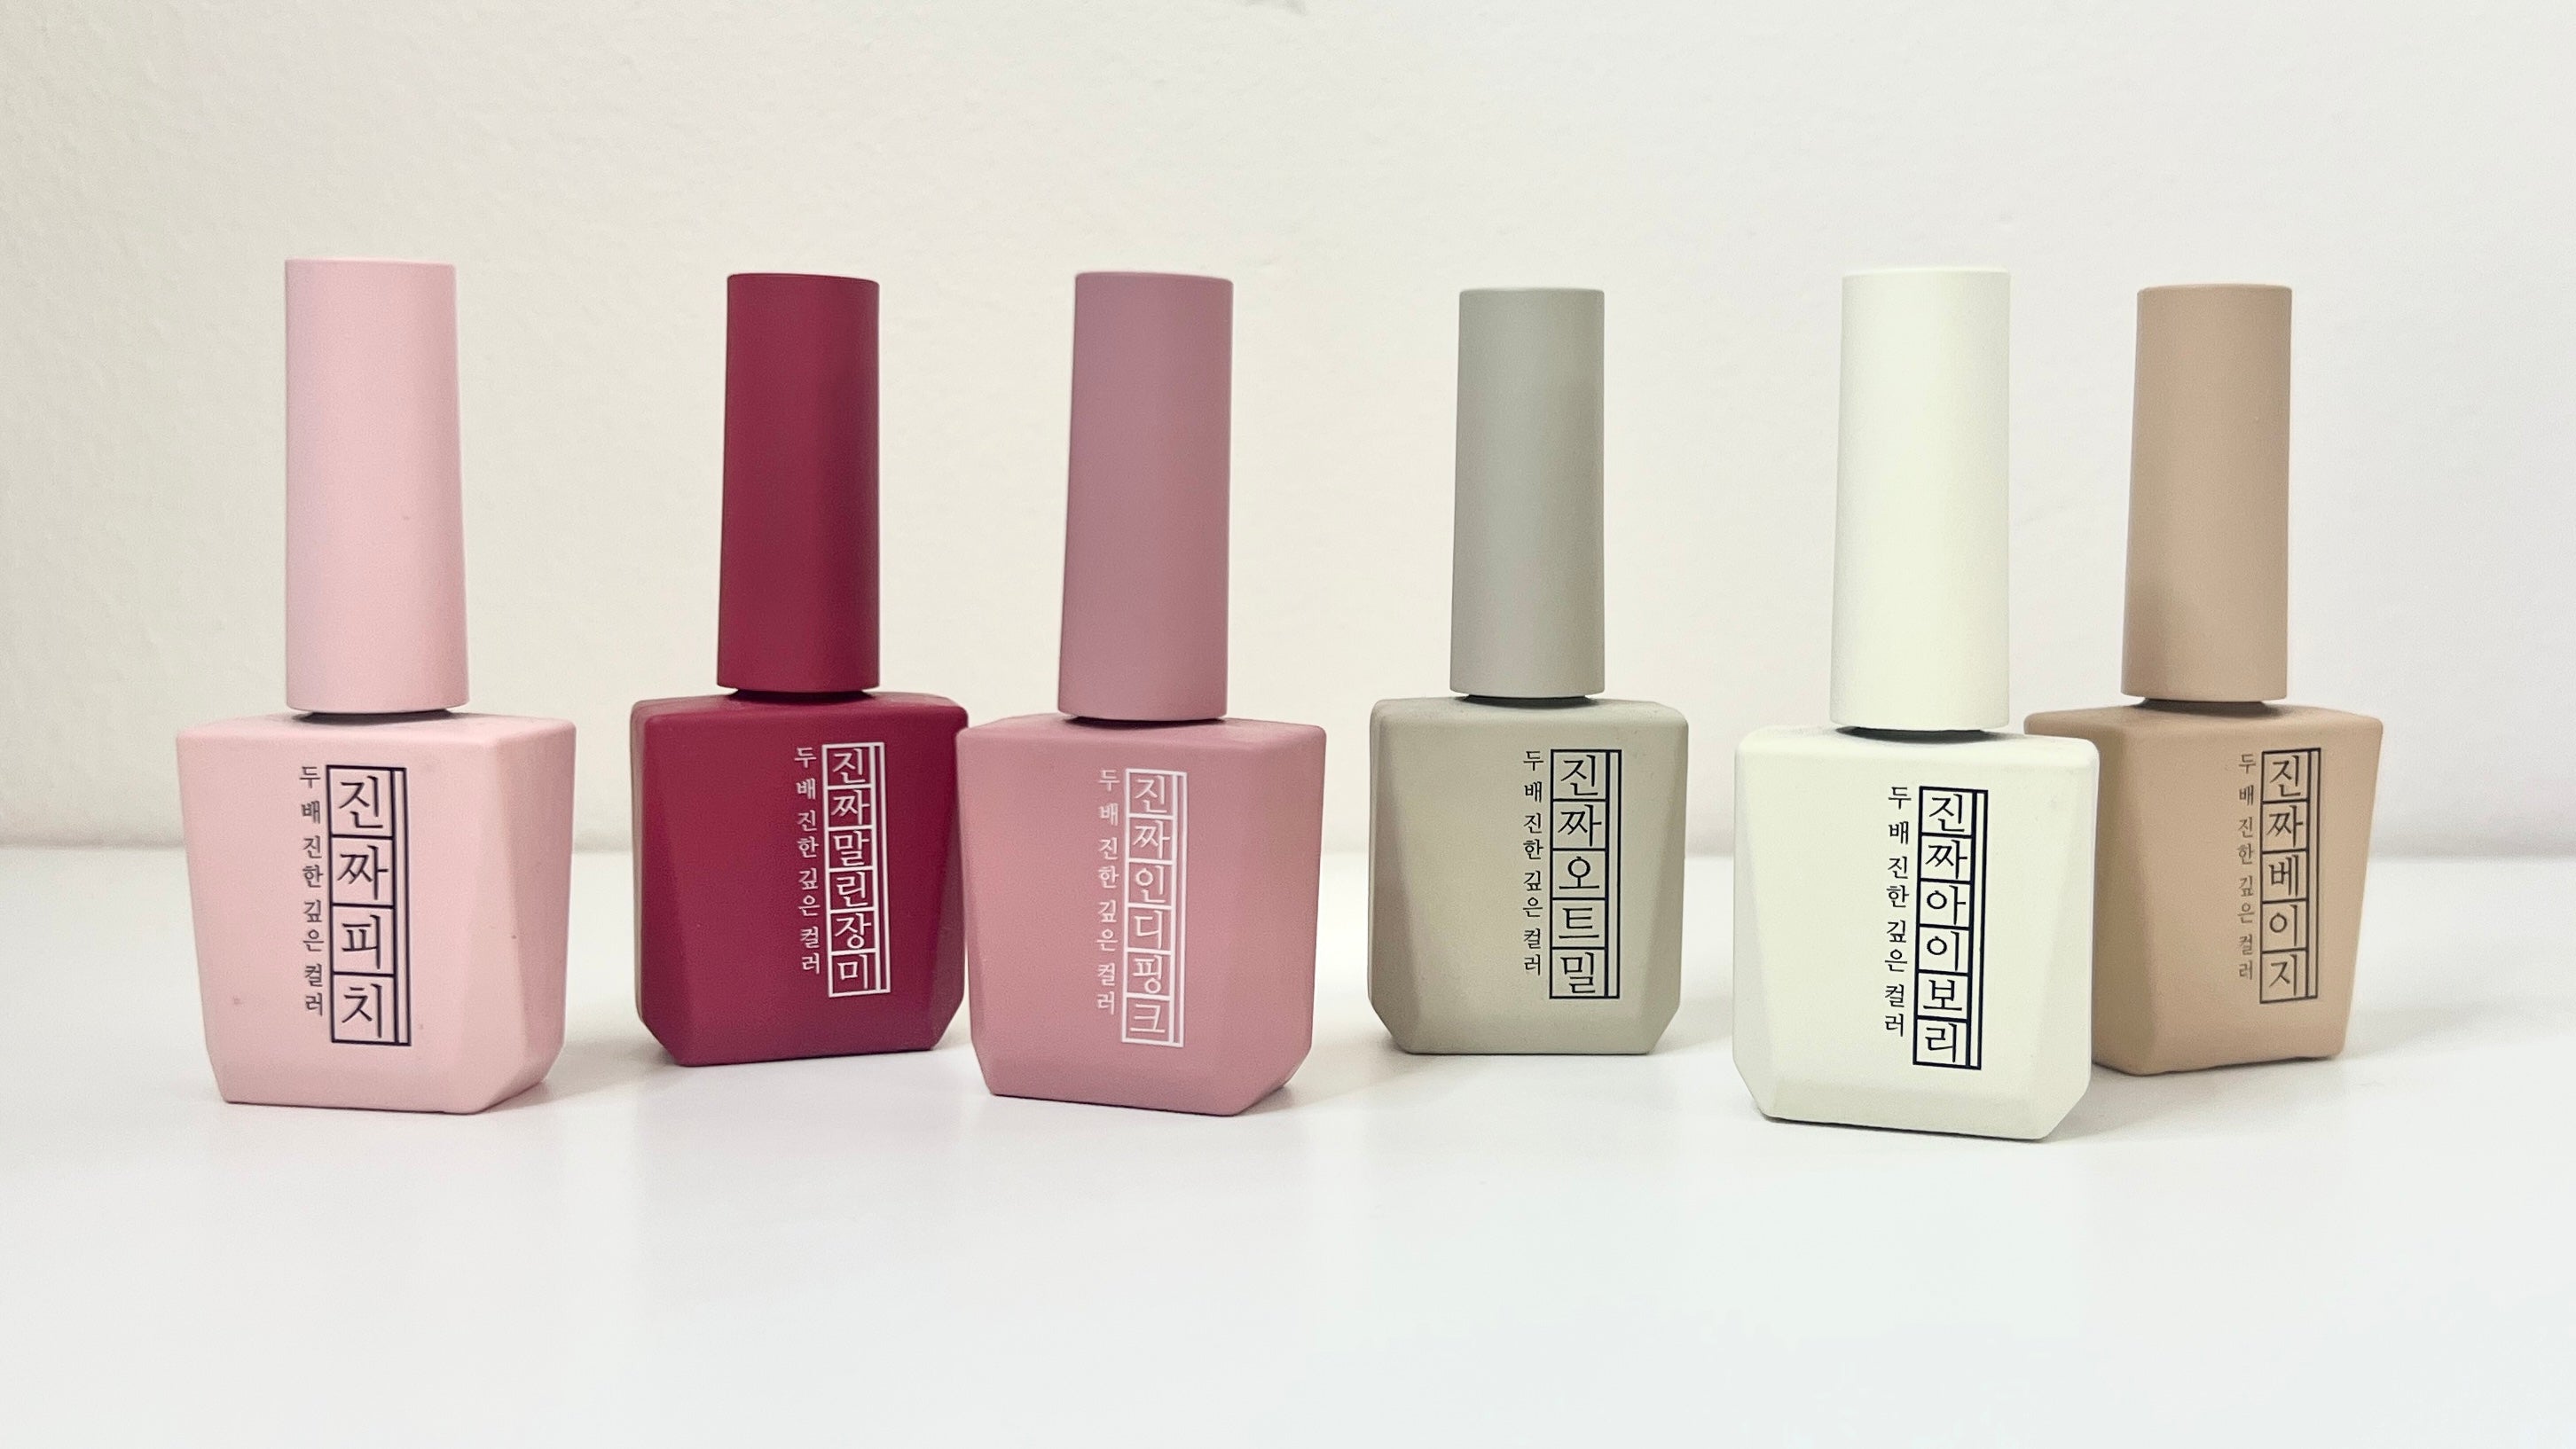
Light Pink Syrup Gel JIN.B JBI-104 from JIN.B Pianissimo Syrup Gel Collection
Holographic Magnetic Glitter Show Me Milky Way Magnetic Glitter
Magnetic Wand
Pigmented White Gel DGEL JINI Painting Gel PJ.007
Dotting Tool
Skinny Liner Brush DIAMI Skinny Liner #0.5
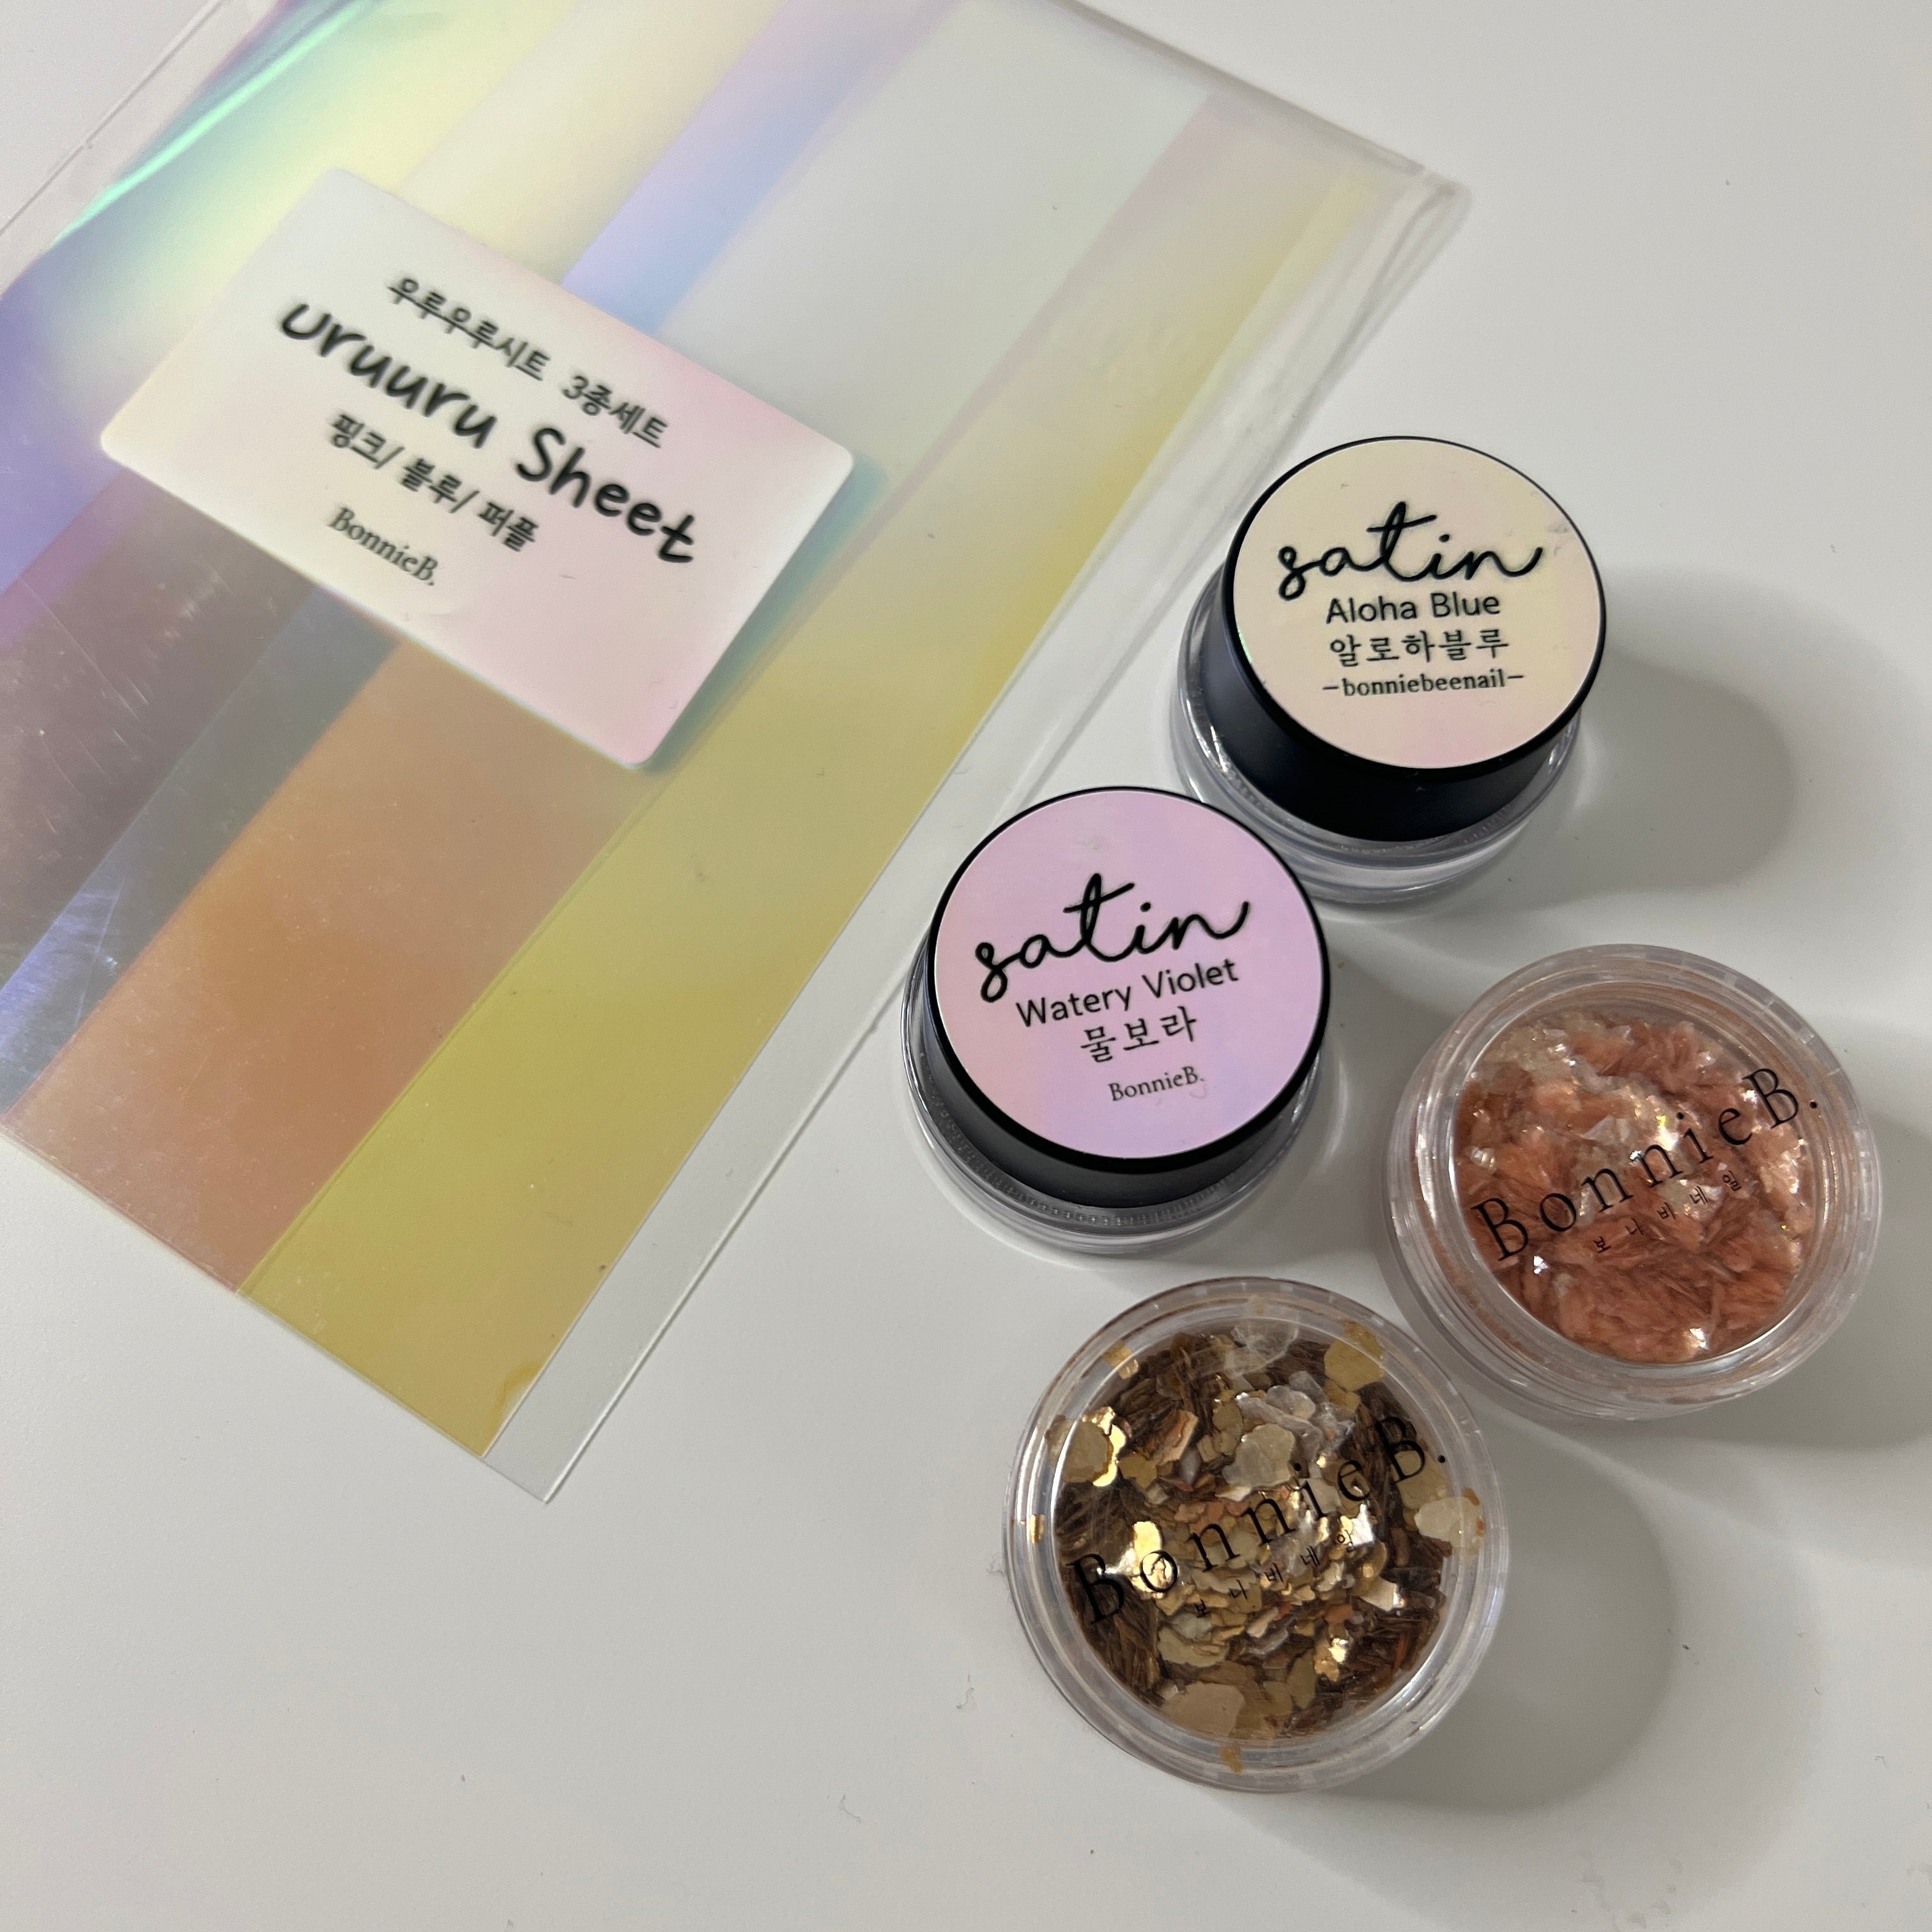
Iridescent Film Paper Bonniebee Uruuru Sheet
Cleansing wipe or lint-free wipe and cleansing/isopropyl alcohol
Step 1: Prep the nails and apply base gel for a clean nail canvas.
Step 2: Apply two thin and even coats of light pink syrup gel. Fully cure for 60 seconds between each coat. 
Step 3: Apply one even coat of magnetic glitter gel on one nail. Do not cure.
Step 4: Use the side of the magnetic wand to push the magnetic glitter to the center of the nail by holding it parallel to the nail at the base, sides, and free-edge of the nails. Then starting at the base of the nails, use the magnetic wand to guide the glitter towards the free edge of the nail by holding the wand above the nail and moving it towards the middle of the nail. This will create a subtle glitter gradient effect. Flash cure nail for 15-30 seconds to keep the magnetic glitter in place before moving on to the next nail. Repeat on all nails. Once all nails on one hand are complete, fully cure for 60 seconds.
Step 5: Lightly dab the dotting tool into the pigmented white gel and apply a small white dot on the nail. This will be the center of your snowflake. Apply one dot above the center dot and one dot under the center dot to create a line. Apply one dot on the left side and right side of the center dot to create a plus shape +. Apply dots in the corners of the design to create a square shape. Apply a dot above the top, bottom, and side dots. Do not cure throughout this step.
Your result should look similar to the design below.
Step 6: Lightly coat the liner brush with white gel. Starting from the center dot, lightly drag your brush upwards to connect the three dotted lines. 
Step 7: Connect the other dots to create a snowflake design by starting at the center dot and lightly dragging the liner brush to connect the left dots into a line. To connect dots on the right side, again, start at the center dot and drag the liner brush through the dots to connect them into a line. Do the same for the bottom dots, starting at the center dot and dragging the brush downward to connect the bottom line. Use the same technique to connect the center dot to the diagonal dots to create diagonal lines extending from the center. 
Your result should look similar to this:
Step 8: Repeat steps 5-7 on other nails as desired to create the same snowflake design. Create varying snowflake designs by changing the placement of dots. Flash cure each finished snowflake design for 15-30 seconds as you continue to work on other nails. After completing snowflake designs on all nails, fully cure for 60 seconds. Wipe off the sticky inhibition layer with a cleansing wipe or lint free wipe and alcohol.
Step 9: Cut a strip of the iridescent film, about 1/8inch (.31cm) wide. Remove the clear backing on the film.
Step 10: Stick a small part of one end of the iridescent film strip to the edge of your workspace table. Cut off a tiny square from the free end. Apply the square on the nail with the sticky side facing down to form a diamond shape. Firmly press down to flatten the film on the nail. 
Step 11: Apply top coat using Tiara Crazy Top in standard or a slightly thicker top gel to encapsulate the hand-painted snowflakes and iridescent film diamond shapes. Fully cure for 60 seconds. (An alternative can be applying a clear gel overlay to encapsulate, fully cure, and then apply top gel afterwards.)
The finished result is a pretty winter nail look that you can wear through the winter holidays.
Happy holidays!
(without flash)
(with flash)
Leave a comment
All comments are moderated before being published.
This site is protected by hCaptcha and the hCaptcha Privacy Policy and Terms of Service apply.