
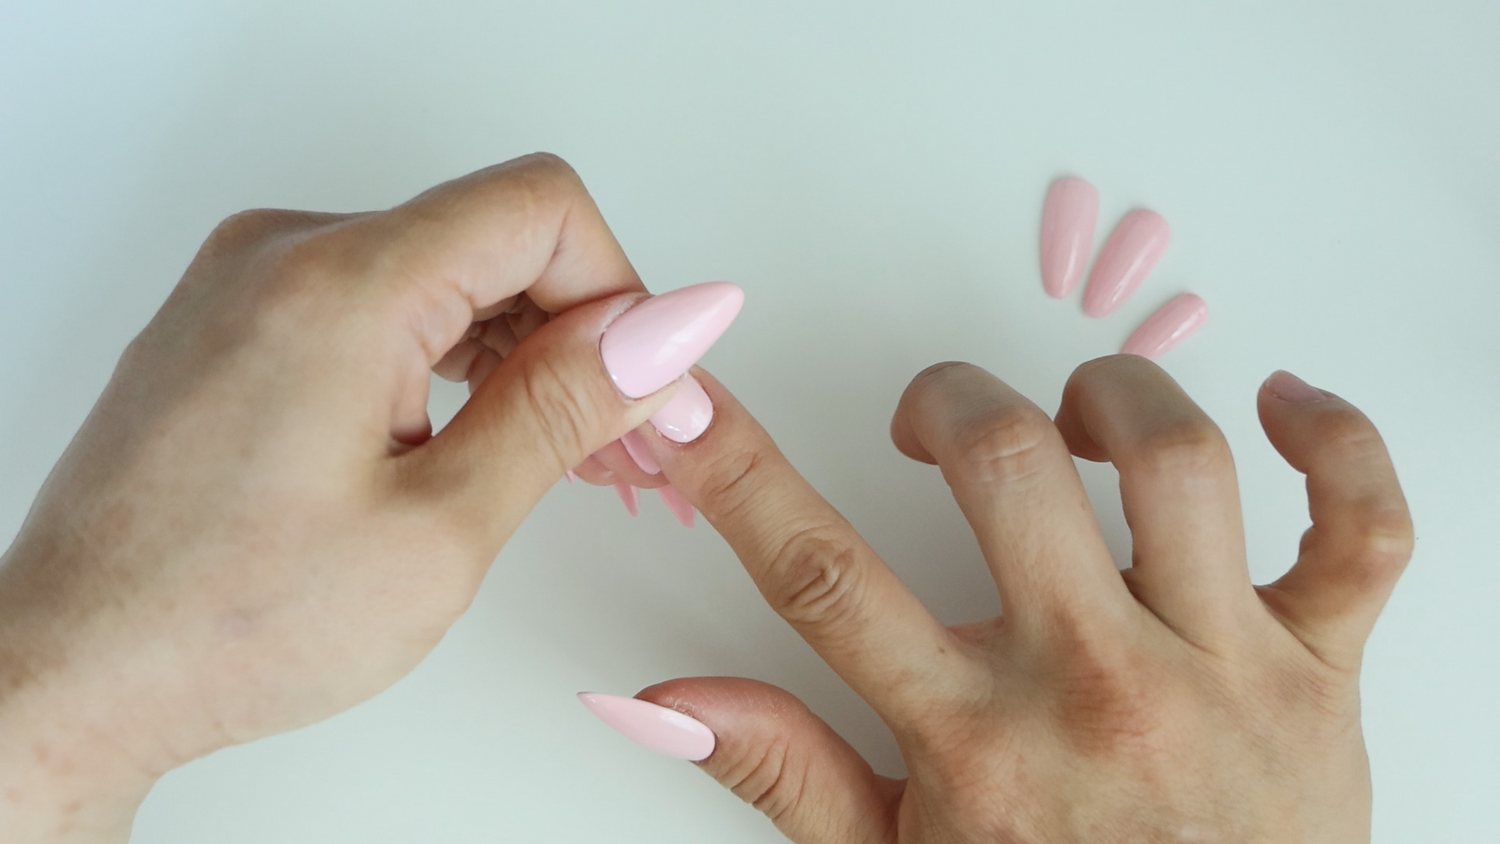

Press-on nails offer the convenience of transforming your nails in minutes with self-application and removal. They’ve also come a long way since the days of flimsy big-box store press-on nails that only lasted through a single wear. Today, you can find press-on nails that offer durable and reusability in a variety of designs and styles. From budget-friendly options to luxury-style press-on nails, there are more choices than ever to achieve salon-quality nails at your own convenience. However, if you enjoy art or have a creative streak, you might find satisfaction in designing your own press-on nails. If you’ve been wanting to get started with creating your own press-on nails, we’ve got you covered. Learn about supplies you’ll need to get started with making your own press-on nails, how to paint them, apply them, and remove them.
When it comes to making your own press-on nails, there essential supplies you’ll need to get started:
full coverage nail tips - nail tips that cover the whole nail and come in a variety of shapes, lengths, and sizes
nail tip stands - allow you to paint your press-on nail tips and cure them under a nail lamp
nail tip stand adhesive - holds the nail tip to the nail tip stand
press-on nail glue - adheres the nail tip to your natural nails
nail cuticle pusher - pushes back dead skin on the nail plate
nail file - shapes and evens out the natural nails
nail buffer - removes shine on the natural nails and creates micro-grooves on the nails for better adhesion
alcohol wipes - removes oils and dust from the natural nails and the tacky layer from cured gels. You can use lint-free wipes wetted with a specialized nail cleanser or 90% isopropyl alcohol.
base gel - applying a thin base coat to the nail tip prior to gel color will help the gel color better adhere to the nail tip
color gel polish - apply as your nail color or base color for nail art
top gel - seals color or design to help it last
UV/LED nail lamp - ”hardens” or cures gel
If this is your first run with gel nails, it can be overwhelming to identify which products to choose. For starters and convenience, we recommend the ALDA Amelie Rose Nail Extension Kit which includes essential supplies to start making your own press-on nails and apply them. You will still need base gel, gel color, top gel, and nail art products to paint and design your press-on nails. Each ALDA Amelie Rose Kit comes with:
-
1 box of SOFtips, 180 pieces-12 sizes in your choice of style
-
SOFbond adhesive (4g)
-
Nail cuticle pusher & cleaner pen
-
Nail file & buffer
-
Petite LED lamp
-
Rose Palette Base Plate
-
Organizer Caddy

For nail tip sizing, applying color, press-on nails application, and removal, follow our guide below:
Sizing
The benefit of making your own press-on nails is that you can select and customize the nail tip to fit precisely to your natural nails.
- For each hand, individually size the nail tips one finger at a time by placing the tip on the natural nail. The nail tip should fit comfortably on the surface of your natural nail from sidewall to sidewall and snugly at the cuticle area. If you are in between sizes, select the larger size and file the sides of the nail tip to fit.

-
Lay the nail tips out in order to make it easy to identify which tip fits each fingernail.

Placing Nail Tips on the Nail Tip Stand
-
Apply nail tip stand adhesive such as putty to the nail tip stand.

-
Apply the nail tip on top of each nail tip stand, pressing down firmly to keep the nail tip securely in place.

Painting and Designing Your Nail Tips
When using gel, avoid gel contact with skin. Wear gloves to protect skin from gel products. You can complete one nail at a time or apply each step to all nails at the same time based on your preference and comfortability.
-
Apply a thin coat of base gel onto the nail tips and cure for 60 seconds.

-
Apply a thin coat of your choice of color gel polish. Cure for 60 seconds in a UV/LED nail lamp. Repeat this step for a second coat of color.
 Pro Tip: You can place all the nail tips on the Rose Palette Base Plate and paint them all while holding the plate. The secure hold and wide workspace of the palette allows you to work with the nail tips and cure them without needing to hold each individual nail tip stand.

-
(optional) Add nail art designs.
-
Apply a coat of top gel. Cure for 60 seconds.

- If working with one nail tip at a time, repeat steps for all nail tips.
Preparing Natural Nails for Press-on Nails
-
Trim your natural nails to a short length, leaving about 2-4 mm of free-edge (visible white part of natural nails).

-
Push back cuticles using the cuticle pusher.

-
Buff the natural nail surface using the nail buffer to remove shine.

-
Cleanse the nail with an alcohol wipe.

Applying Nail Tips to Natural Nails (for wear lasting longer than 1-2 days)
Press-on nails can be worn for up to seven days or more using nail adhesive such as SOFbond. We do not recommend wearing them for longer than two weeks.
-
Lay out the nail tips in front of you for easy application.
-
Apply a small amount of SOFbond to the inner base of the nail tip.

-
Place the nail tip onto the base of the natural nail at a 45 degree angle, and lay the nail tip flat onto the natural nail.

- Press down and hold firmly for 15-30 seconds allowing the SOFbond to dry.
-
Repeat steps to apply all nail tips.

Removing Press-on Nails
To prevent damage to the natural nails, avoid forcing or popping off press-on nails without prior soaking or use of remover solution.
Gentle Soak-Off Method
Soak your nails in a warm water mixture including soap and a few drops of cuticle oil for 10-15 minutes. Gently lift around the edges with an orange stick or cuticle pusher. If needed, re-soak the nails.
Acetone Removal
Using an orange stick or cuticle pusher, carefully loosen the edges of the press-on nail. Once a small gap forms, apply a few drops of acetone or nail glue remover solution between the press-on nail and your natural nail. Let the solution penetrate the adhesive for about one minute, then gently ease the press-on nail off the natural nail. After removal, lightly buff away any remaining glue residue.
Whether you enjoy the convenience of press-on nails or switching up your nail look often, making your own press-on nails ensures the perfect fit and allows you ultimate creative control over your designs. The ALDA Amelie Rose Nail Extension Kit includes everything you need to get started, making it an excellent all-in-one option for creating custom press-on nails at home.
For more nail content including nail art how-to’s, swatches, and new releases, follow Sweetie Nail Supply on social media:


Leave a comment
All comments are moderated before being published.
This site is protected by hCaptcha and the hCaptcha Privacy Policy and Terms of Service apply.