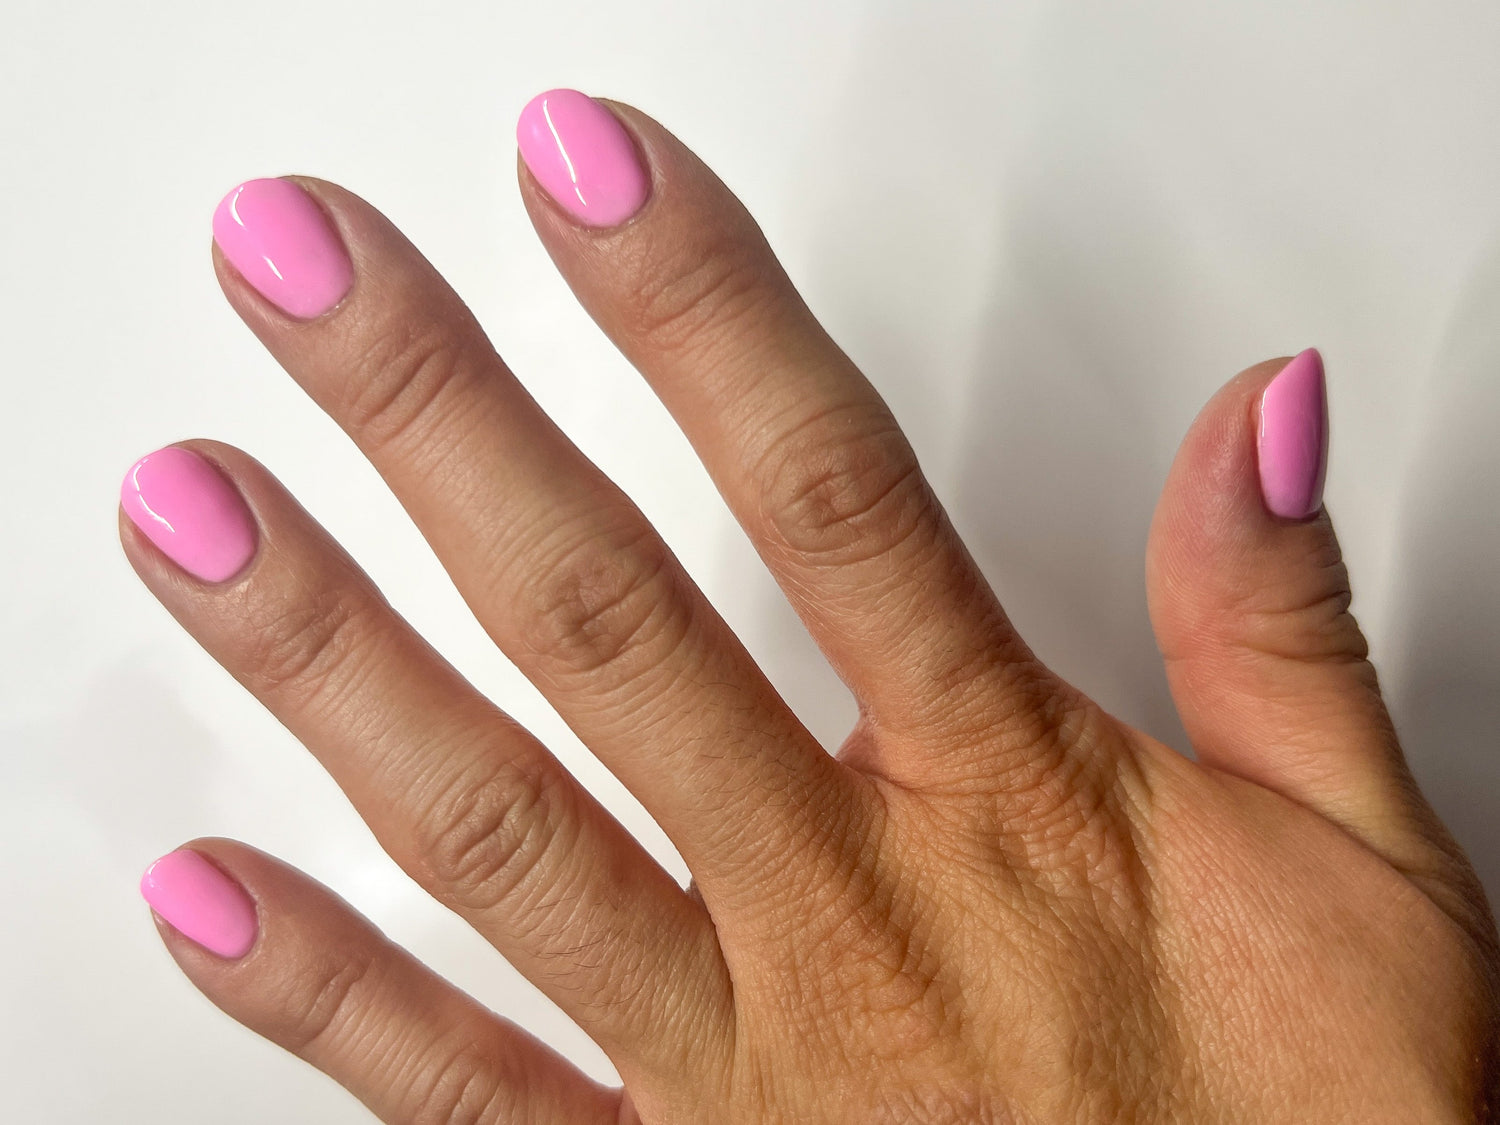

No one wants their gel color chipping or peeling after just a few days of getting their nails done. If you love wearing color and art on short to active-length natural nails, there’s no reason to count out gel manicures as a nail enhancement that can meet all your nail needs. Doing your own nails at home doesn’t have to feel intimidating or confusing. If you are new to gel nails, we highly recommend signing up for our Sweetie Nail Supply newsletter to receive a free guide on using gel polish for the basics. If your gel manicures tend to chip, lift, or peel off within days, these pro tips are a must-read for achieving long-lasting, chip-free gel manicures.

Start With A Spotless Canvas
Thoroughly clean the nail plate. Proper nail preparation for gel application includes removing cuticles from the nail plate, eliminating natural oils from the nail surface, and clearing away any dust or debris. These elements can interfere with the adhesion of gel products to the natural nail, which can commonly cause lifting. Before applying gel, it’s essential to ensure the nails are completely clean and dehydrated to create an ideal surface for proper bonding. Base gel should be applied directly to the nail plate without any residue obstructing contact, as this can compromise the longevity and effectiveness of gel application.
Dehydrate First and During, Rehydrate After
Dehydrate the nails before and during application; rehydrate afterward. When it comes to gel manicures, moisture is your biggest enemy and a common culprit behind issues like lifting, peeling, and even fungal or bacterial infections. That’s why it is crucial to dehydrate the nails using a nail cleanser, isopropyl alcohol, or acetone prior to gel application.

If you are using a cuticle remover or softener for cuticle care, try doing your cuticle care one or two days before applying gel. These products usually need to be rinsed off with soap and water to neutralize their active ingredients. However, washing hands introduces moisture, which temporarily and slightly expands the skin and nails. Applying gel to nails that have not been thoroughly dehydrated after handwashing can lead to unwanted lifting or peeling as the nail dries and naturally contracts. Additionally, any moisture trapped beneath the gel can create the perfect environment for fungal or bacterial growth.
Residual cuticle remover left on the skin or nails may also continue to break down dead tissue, leaving behind dead skin and residue on the nail plate. This will definitely interfere with gel adhesion. Allowing a day or two between cuticle care and gel application allows for more thorough removal of cuticle softener product and for the nail plate to return to its natural state. Always ensure cuticle softener product and debris have been fully removed and the nails are thoroughly dehydrated to create a suitable nail surface for better gel adhesion. Don’t forget to wash your hands after gel application and working with nail products. Rehydrate the hands and skin around the nails with cuticle oil and hand lotion afterwards.

Buff, Don’t Break
Gently etch the nail surface using a medium grit file or buffer. Many gel products require a slightly roughened surface to bond effectively. If the nail is too smooth or has excessive natural oils, the gel may lift or peel. Creating small grooves in the nail gives the gel something to hold onto, improving adhesion. To do this, use a 180 grit file or buffer to gently etch the surface of the nail before gel application. Avoid harsh or repetitive back-and-forth motions. Instead, apply minimal pressure and lightly scuff the nail, only enough to create a slightly roughened nail surface. The goal is to remove shine and create a subtle texture, not to thin the natural nail.

Bond Like a Pro
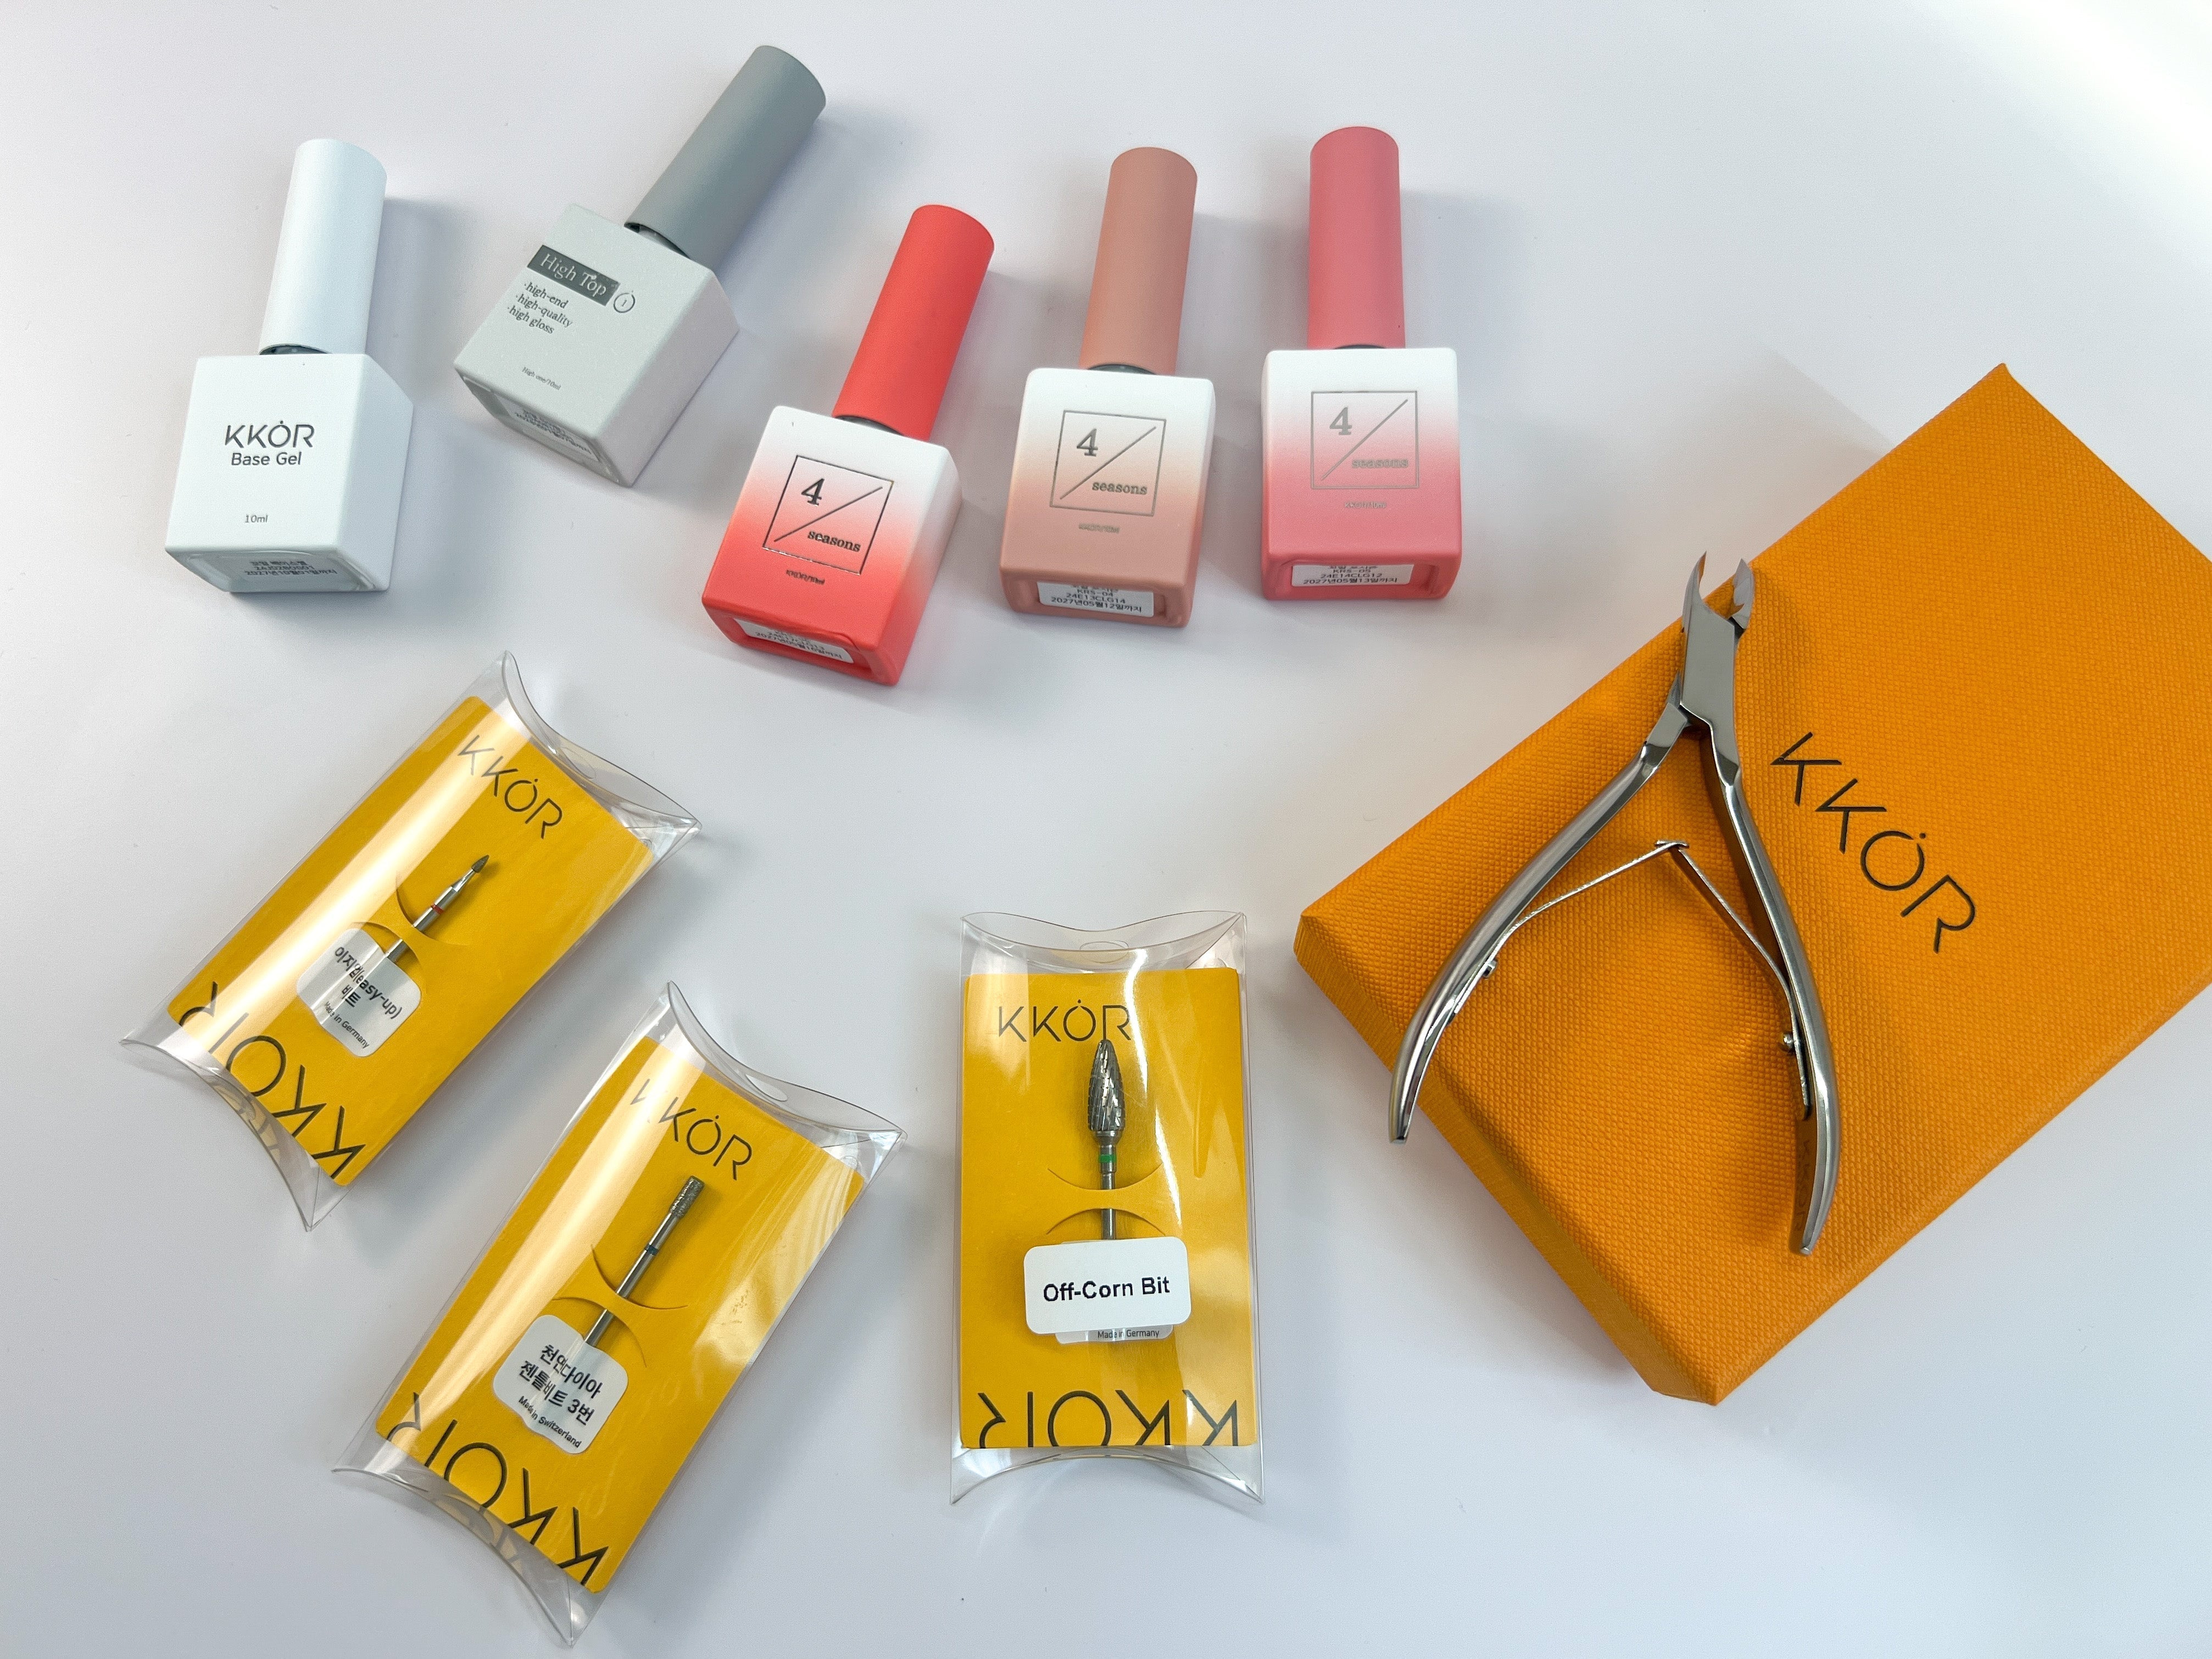
Apply bonder to enhance grip and minimize lifting. For added security, apply bonder after prepping the nails and before applying gel. Bonder helps strengthen the adhesion between the natural nail and the gel product by creating a tacky layer on the nail surface. For best results, use a bonder that is formulated to work with your specific base gel. Ideally, this will be a bonder from the same brand as your base gel. Although some bonders and gels may be used with other brands, optimal compatibility is not always guaranteed. Keep in mind that some base gels are designed to adhere without the use of a bonder. Always check the product instructions or manufacturer’s guidelines. For nails that need just a little bit more reassurance, bonder is that element.
Double Down on Durability
Overlay with a clear gel or use a medium viscosity top gel to protect your design. Top gel serves as the armor of nails. It seals in color and protects it. Sometimes a thin top gel that may be quick and easy to apply just won’t cut it for gel manicure that is to last until removal. So you’ll want a more durable alternative. After applying gel color, apply a thin overlay of clear gel prior to applying top gel. This helps to create a more durable layer, preserving color, protecting the nails, and helping them withstand wear and tear from common activities. Alternatively, you can use a medium viscosity top gel as they are slightly thicker, providing more durability.
Seal the Deal
Cap the free edge to seal in color and prevent early breakdown. Always be sure to cap the free edge of the nails during color application, but especially when applying top gel, using either the tip of the bottle brush or a fine liner brush for precision. This step helps protect the tip of the nails which is often vulnerable to daily impact that can lead to chipping and breakdown. Capping the free edge reinforces this high-contact area, locking in the gel and extending the life of your gel manicure.

File Finish
File the edges of the nails using a fine grit file. To finish the nails, use a 240 grit file to refine the shape and clean up the edges. Gently file from underneath and around the entire edge of the nail to ensure all sides are even and smooth. This step helps eliminate any ridges and creates a clean finish. Most importantly, it also ensures that the natural nail stays tucked under the top gel cap, which helps reduce exposure to impact and everyday wear.

The difference between a long-lasting gel manicure and one that chips or lifts early often comes down to the small details in prep and application. Sometimes, it's the small details that make a big difference. We hope these tips help you refine your technique and keep your gel manicures lasting until you’re ready to remove them.
For other nail content including nail art how-to’s, swatches, and new releases follow Sweetie Nail Supply on social media :
Leave a comment
All comments are moderated before being published.
This site is protected by hCaptcha and the hCaptcha Privacy Policy and Terms of Service apply.