

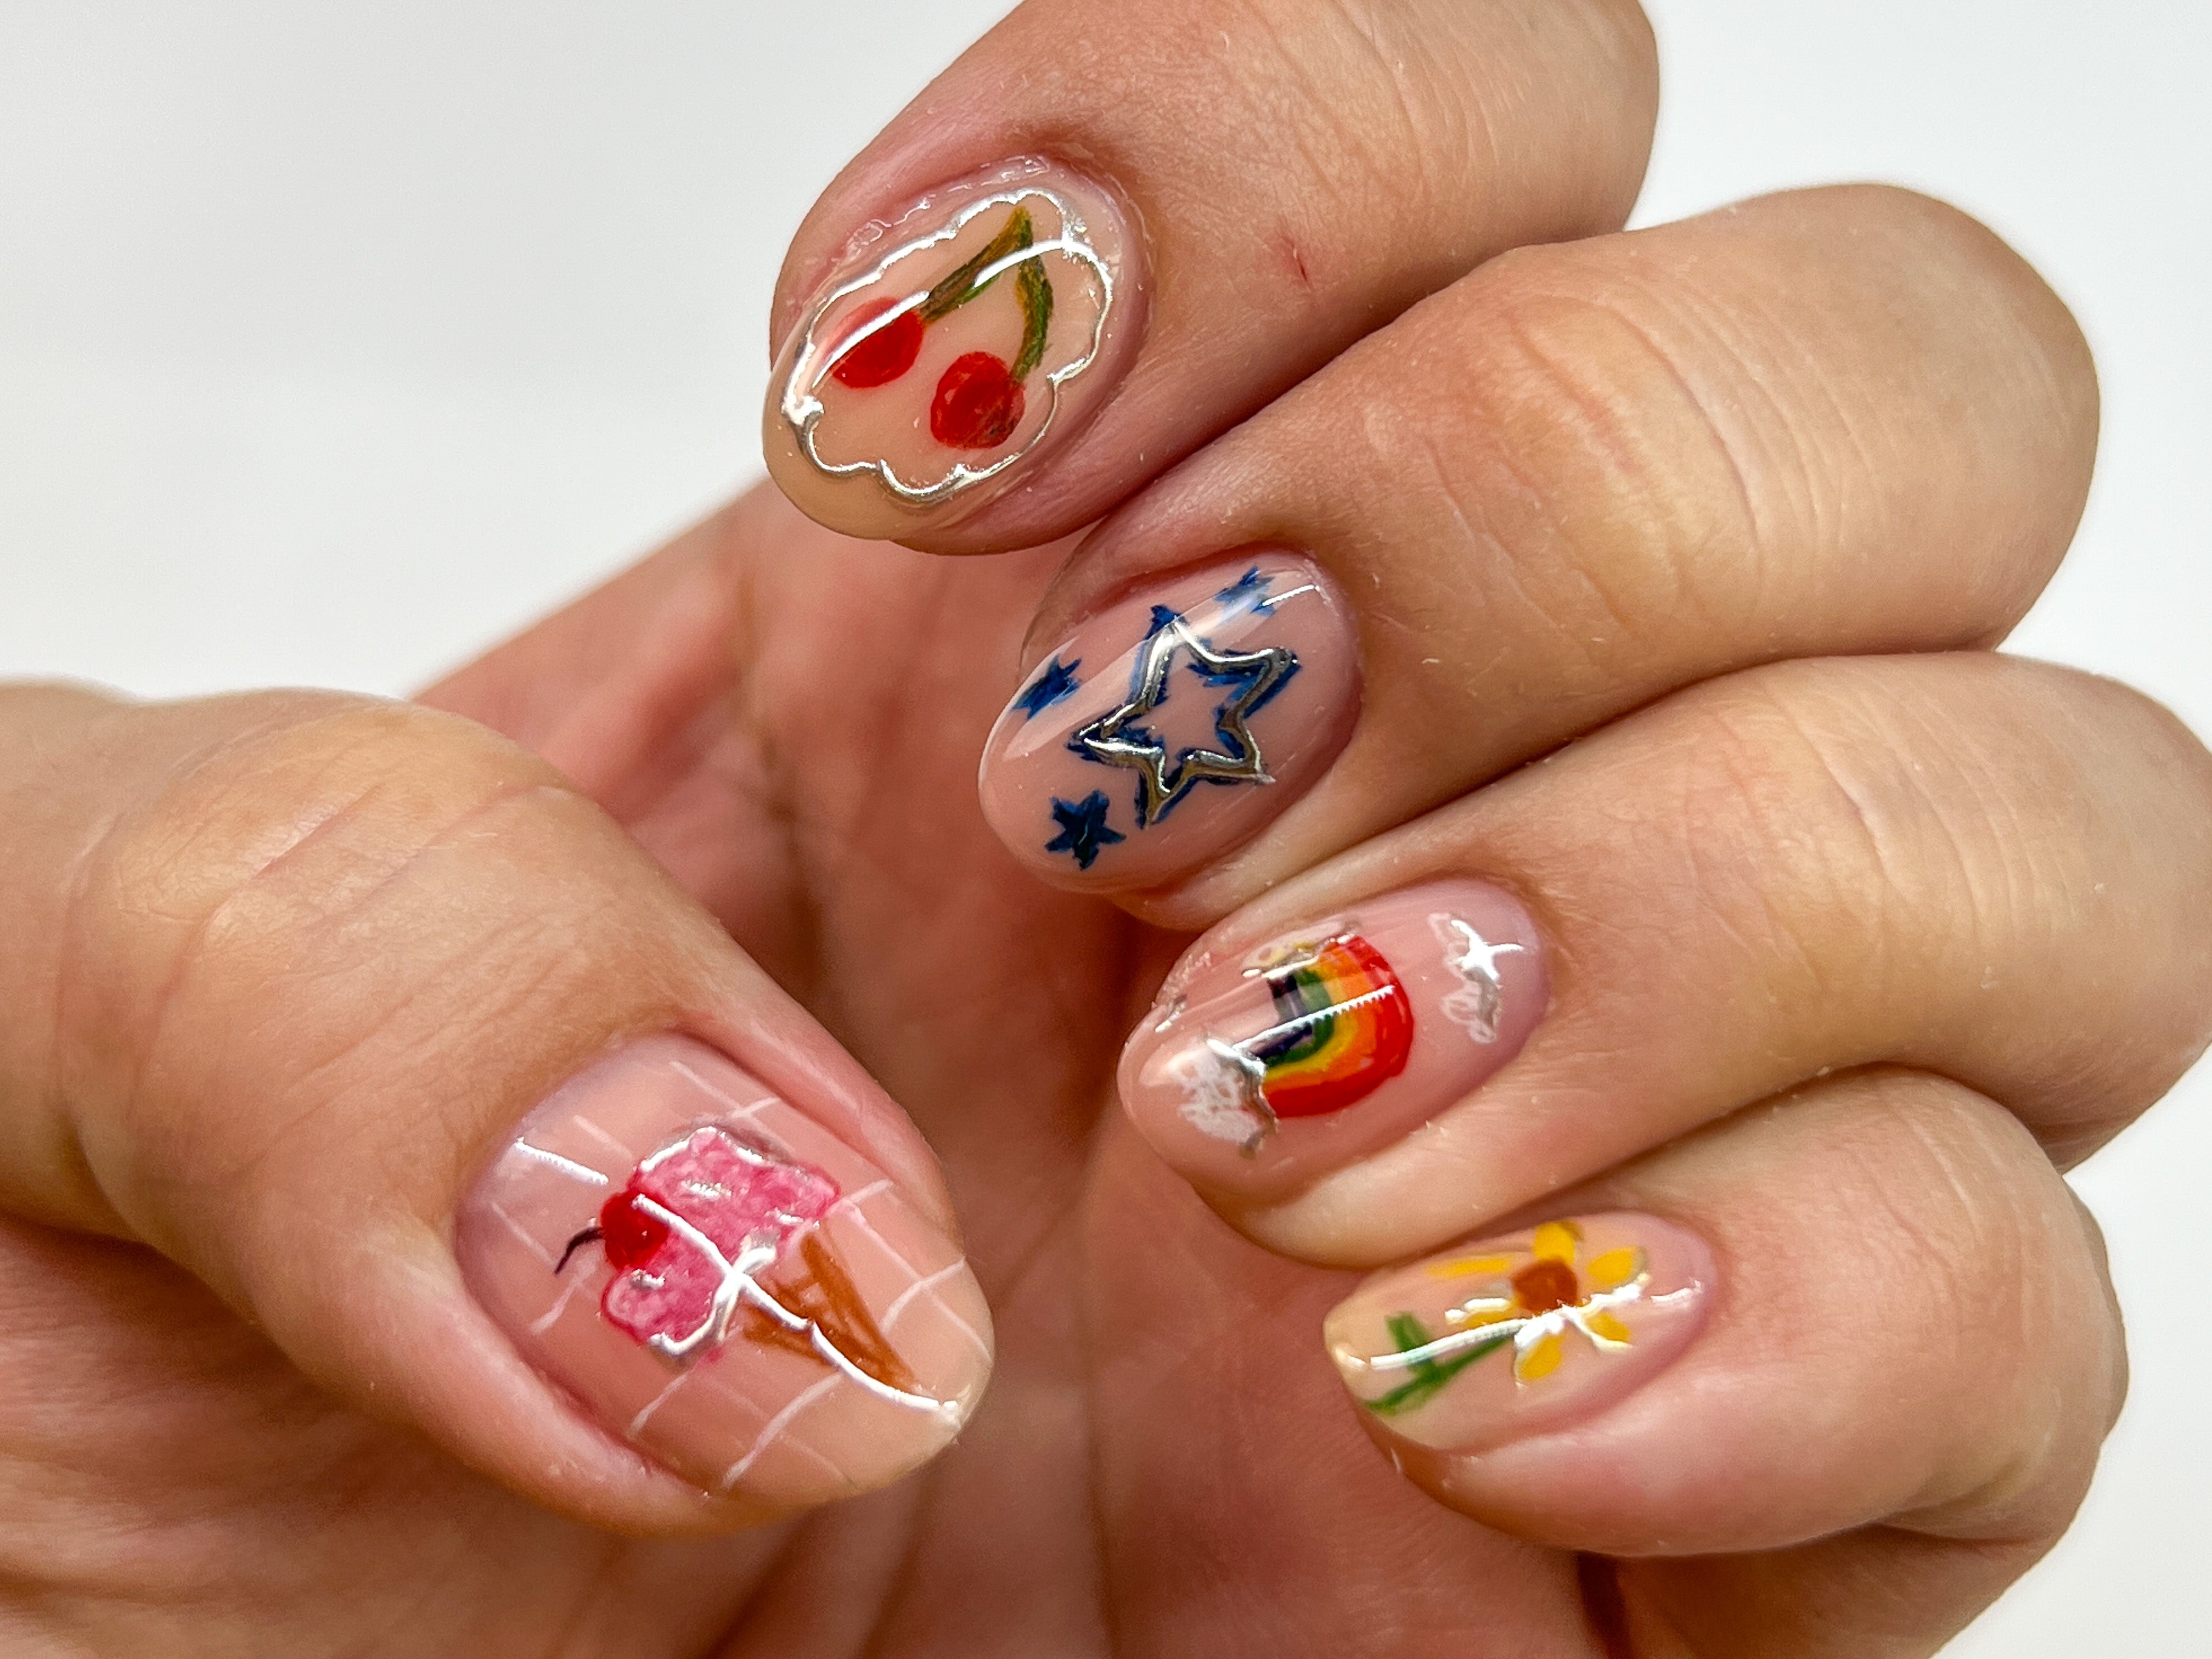
What more perfect time to relish in ocean themed nails than summer! Dive into a shimmering undersea fantasy and create an oceanic scenery on your fingertips with iridescent gleam, mesmerizing sparkle, and 3D sea creatures. Whether you’re dreaming of mermaid vibes or a touch of seaside escape, this look brings oceanic enchantment right to your fingertips.
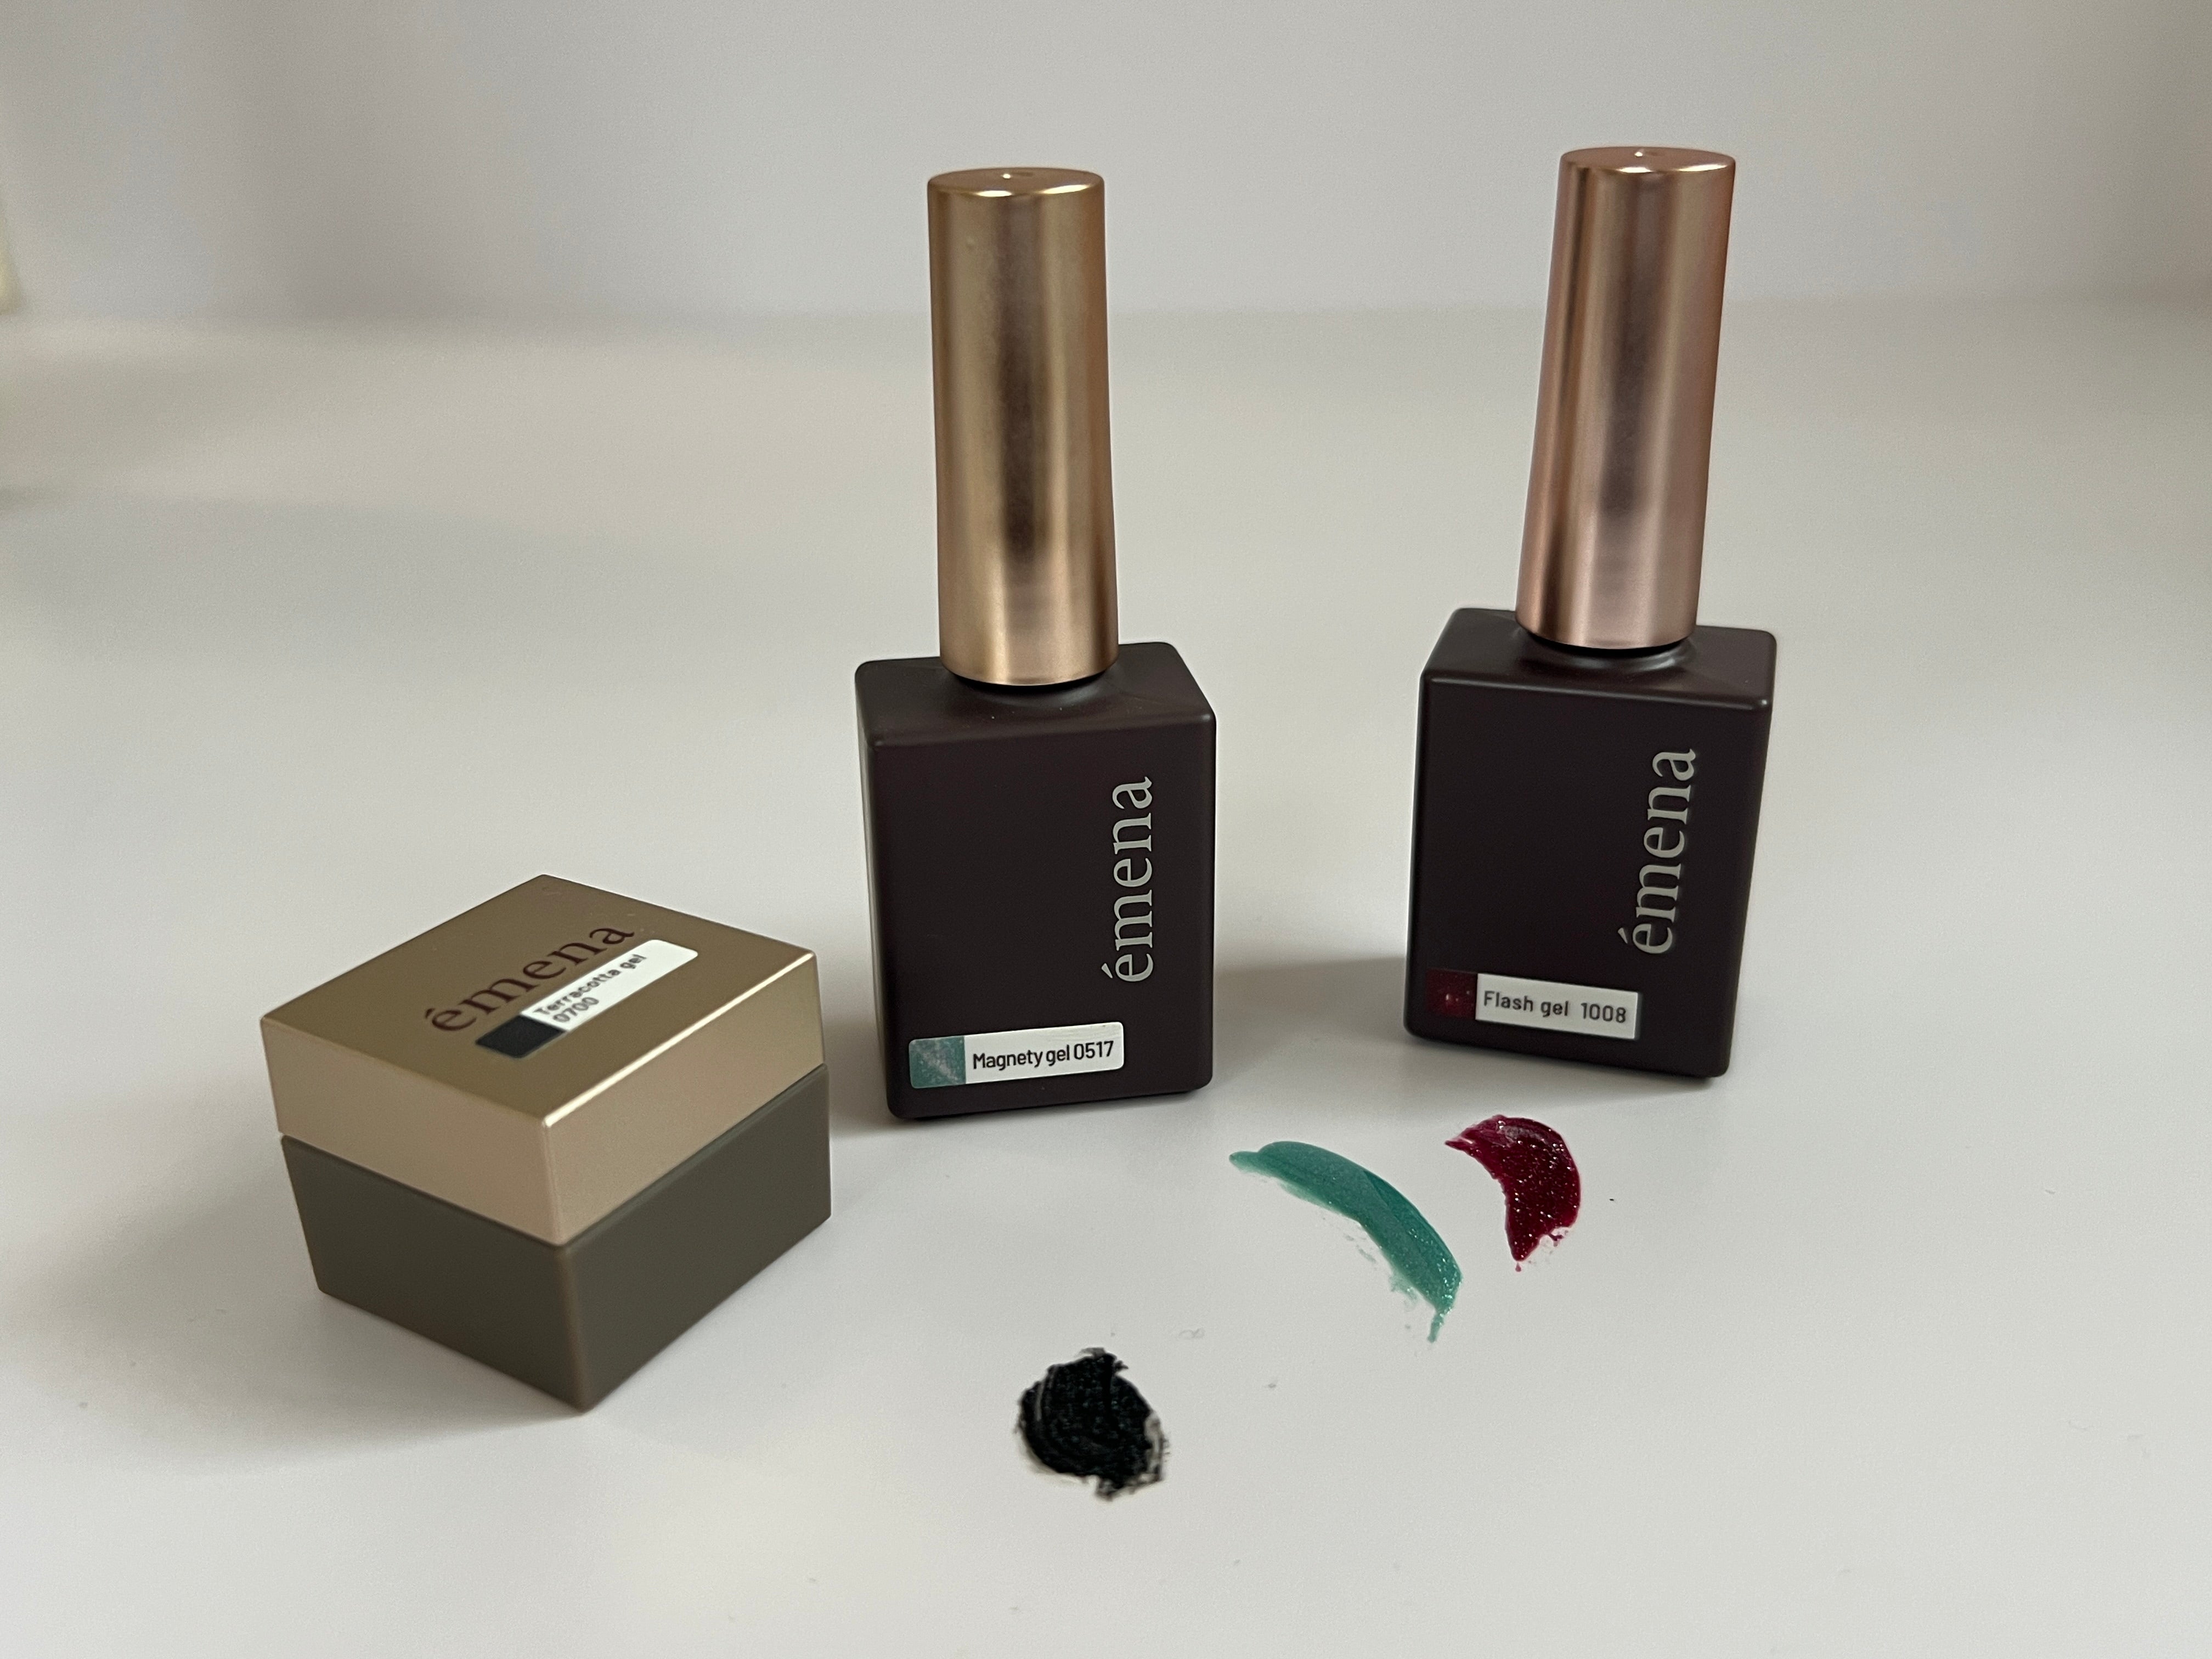
Products Used for Nail Art:
Yogurt Nail Syrup #70
Yogurt Nail Syrup #72
Yogurt Nail Syrup #05
Jello Jello Edge Beam Powder (Mermaid)
Jel and Gel Ggumi Gel Clear
Jel and Gel Ggumi Gel EB006-010
Jel and Gel G-115 (From Pearl in the Soil Season 2)
All Nails
Apply one coat of Yogurt Nail Syrup #70 Neon Soda. Cure for 60 seconds.

Using light feathery strokes, apply of Yogurt Nail Syrup #72 Pom Pom Purple on different parts of the nails. Do not cure.

Take a small amount of Yogurt Nail Syrup #70 and place it in the empty areas.

Wipe off excess gel from the brush of Yogurt Nail Syrup #70 and using light downward strokes, gently blend the colors into each other to create soft gradients. Cure for 60 seconds.

Apply a non-wipe top gel. Cure for only 30 seconds.
Use a sponge applicator to apply Jello Jello Edge Beam Mermaid Powder.

Thumb - Jellyfish
Using a clean metal spatula, scoop out a small bead of Jel and Gel Ggumi Gel Clear. Apply a small bead clear Ggumi gel on the upper third of the nail to begin creating a jellyfish.

Use a silicone nail tool or cone tool to press down on the bottom side of the bead, to create a wavy pattern. This is the bell or hood of the jellyfish. Cure for 60-90 seconds.


Take three small beads of clear Ggumi gel and roll them out to thin strands. Lay these strands below the bell of the jellyfish to create tentacles. Cure for 60-90 seconds.

Apply Yogurt Nail Syrup #05 Wedding Shoes on the wavy pattern of the bell and on tentacles of the jellyfish. Cure for 60 seconds.

Optional: Apply various sized pearls in empty areas of the nail. Adhere pearls by applying a small dollop of medium viscosity clear gel on the desired area and then apply pearls to the gel. Cure for 60 seconds.
Apply top gel. Cure for 60 seconds.
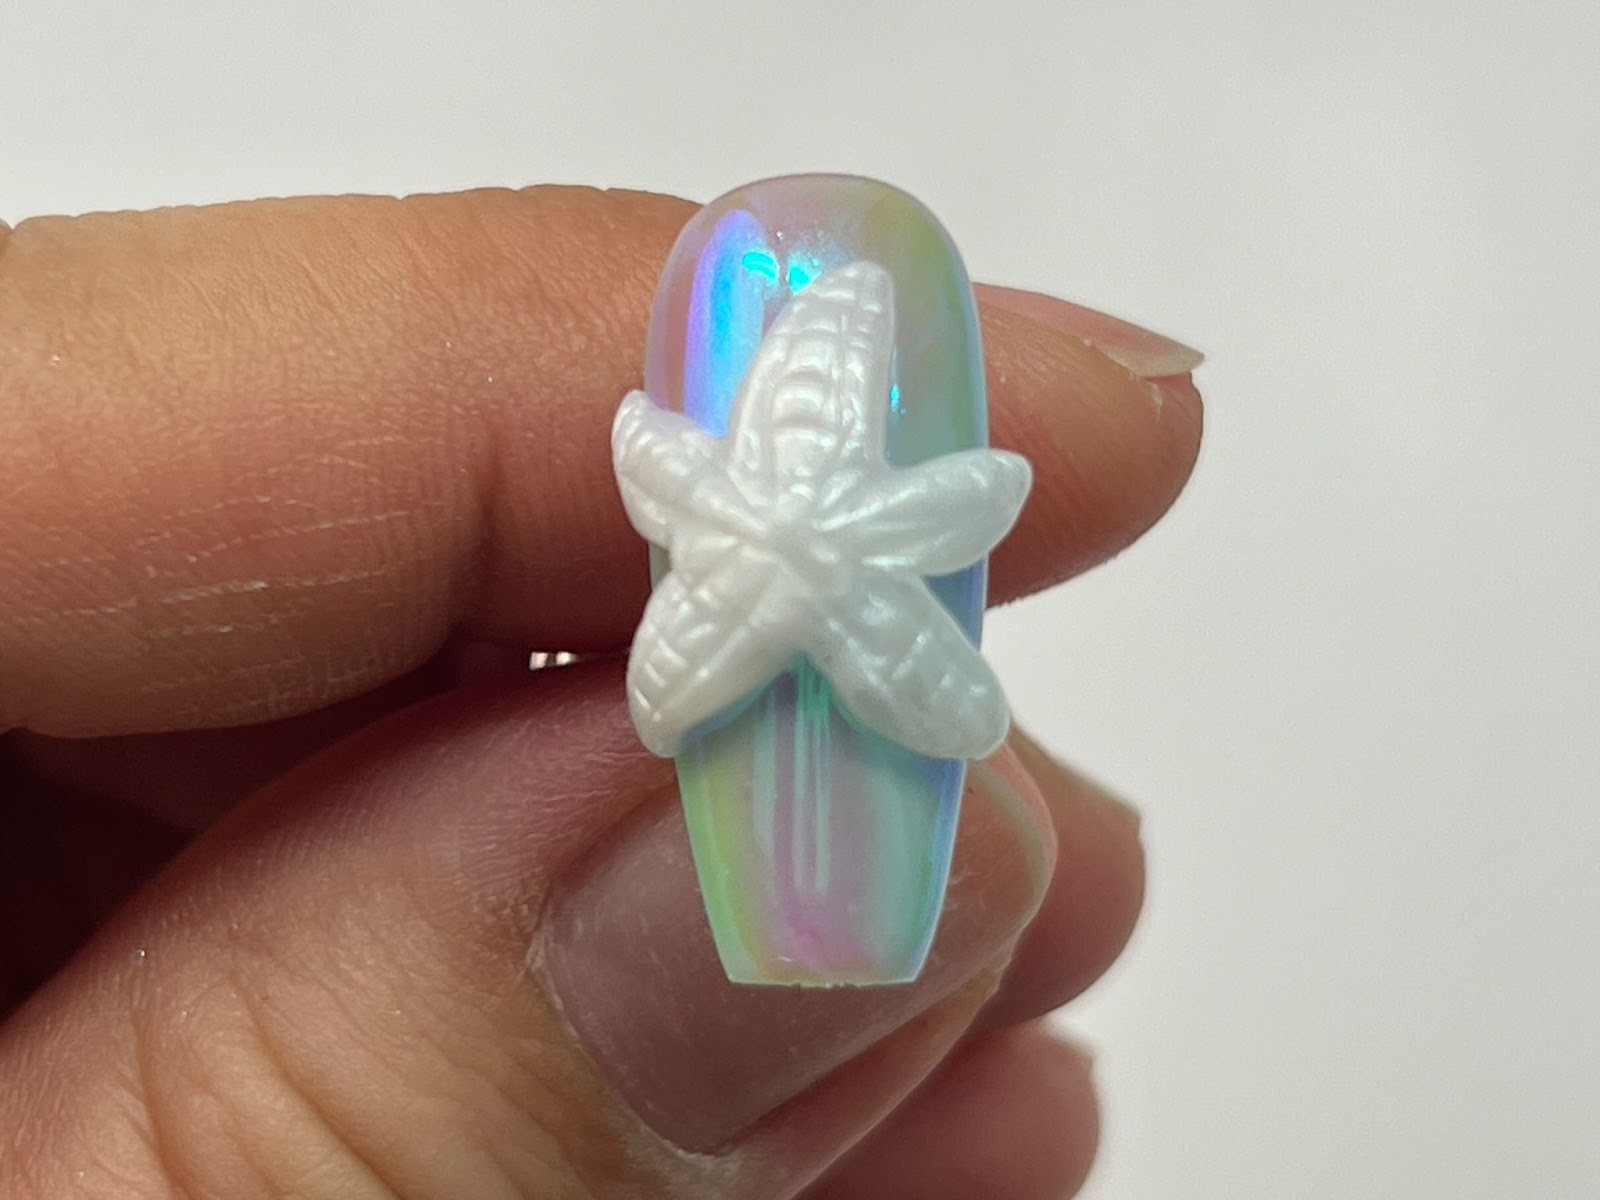
Pointer - Small Shell and Starfish
Take a small bead of Jel and Gel Ggumi Gel EB-010 Purple (Pearl) and apply it to the nail.

Use the flat end of the metal spatula or a silicone tool to slightly flatten the bead and shape into a soft upside down triangle.
Use the square end of the metal spatula or a flat silicone nail tool to indicate three or four lines that connect at the tip of the triangle and spread out to the base of the triangle, creating a seashell. Cure for 60 seconds.

Apply a small bead of Jel and Gel Ggumi Gel EB-009 Coral Red (Pearl) on the lower half of the nail.

Use the tip of the cone tool to push and shape the gel, creating a five point star.

Use the square end of the spatula to create texture on the star. Cure for 60 seconds

Optional: Apply various sized pearls in empty areas of the nail. Adhere pearls by applying a small dollop of medium viscosity clear gel on the desired area and then apply pearls to the gel. Cure for 60 seconds.
Apply top gel. Cure for 60 seconds.
Middle - Starfish
Take a small bead of Jel and Gel Ggumi Gel EB-006 White (Pearl) and place it at the center of the nail.

Take five smaller beads of White Pearl Ggumi gel and place them around the first bead to create a star shape.

Use the silicone tool to taper the ends of the five smaller beads, creating a pointed tip.

Use the square end of the metal spatula to create texture on the star. Cure for 60 seconds.
Apply top gel. Cure for 60 seconds.
Ring - Mermaid Tail
Apply a medium sized bead of Jel and Gel Ggumi Gel EB-010 Purple (Pearl) at the base of the nail. Use the cone tool to shape this into an upside down teardrop shape. Flatten out the shape and smooth out the sides so it is flush against the nail surface. This will be the tip of the mermaid tail.

Place two small beads of Purple Ggumi Gel at the tapered tip of the tail, leaving a space in between each bead. These will be the fins of the mermaid tail.

Use the cone tool to taper out the small beads to connect to the tip of the tail. Flatten out the center of the two beads and tape out the opposite end of the beads, to create fins. Shape the details of the fins to your liking. Cure for 60 seconds.

Apply one coat of Jel and Gel G-115 to the tail part. This creates a detail that appears as scales for the mermaid tail. Cure for 60 seconds.

Apply top gel. Cure for 60 seconds.
Pinky - Small Starfish and Shell
Apply a small bead of Jel and Gel Ggumi Gel EB-009 Coral Red (Pearl) to the upper half of the nail.
Use the tip of the cone tool to push and shape the gel, creating a five point star.
Use the square end of the spatula to create texture on the star. Cure for 60 seconds.
Apply a small bead of Jel and Gel Ggumi Gel EB-010 Purple (Pearl) to the lower half of the nail.
Use the flat end of the metal spatula or a silicone tool to slightly flatten the bead and shape into a soft upside down triangle.
Use the square end of the metal spatula to indicate three lines that connect at the tip of the triangle and spread out to the base of the triangle, creating a seashell. Cure for 60 seconds.
Optional: Apply various sized pearls in empty areas of the nail. Adhere pearls by applying a small dollop of medium viscosity clear gel on the desired area and then apply pearls to the gel. Cure for 60 seconds.
Apply top gel. Cure for 60 seconds.
Your ocean themed nails adorned with watery iridescent gleam, 3d jellyfish, starfish, mermaid tail, and shells are now complete. To make this look your own, try using different base colors, glitter details, and other nail parts for variation. Have fun creating your own 3d ocean themed nail design. Happy summer!

For other nail content including nail art how-to’s, swatches, and new releases follow Sweetie Nail Supply on social media :
1 comment
Roberta Daniel
I am really enjoying the tutorials on the nail design and use of the three d gels. Would love to see more of these tutorials as they are very interesting and helpful.
Leave a comment
All comments are moderated before being published.
This site is protected by hCaptcha and the hCaptcha Privacy Policy and Terms of Service apply.