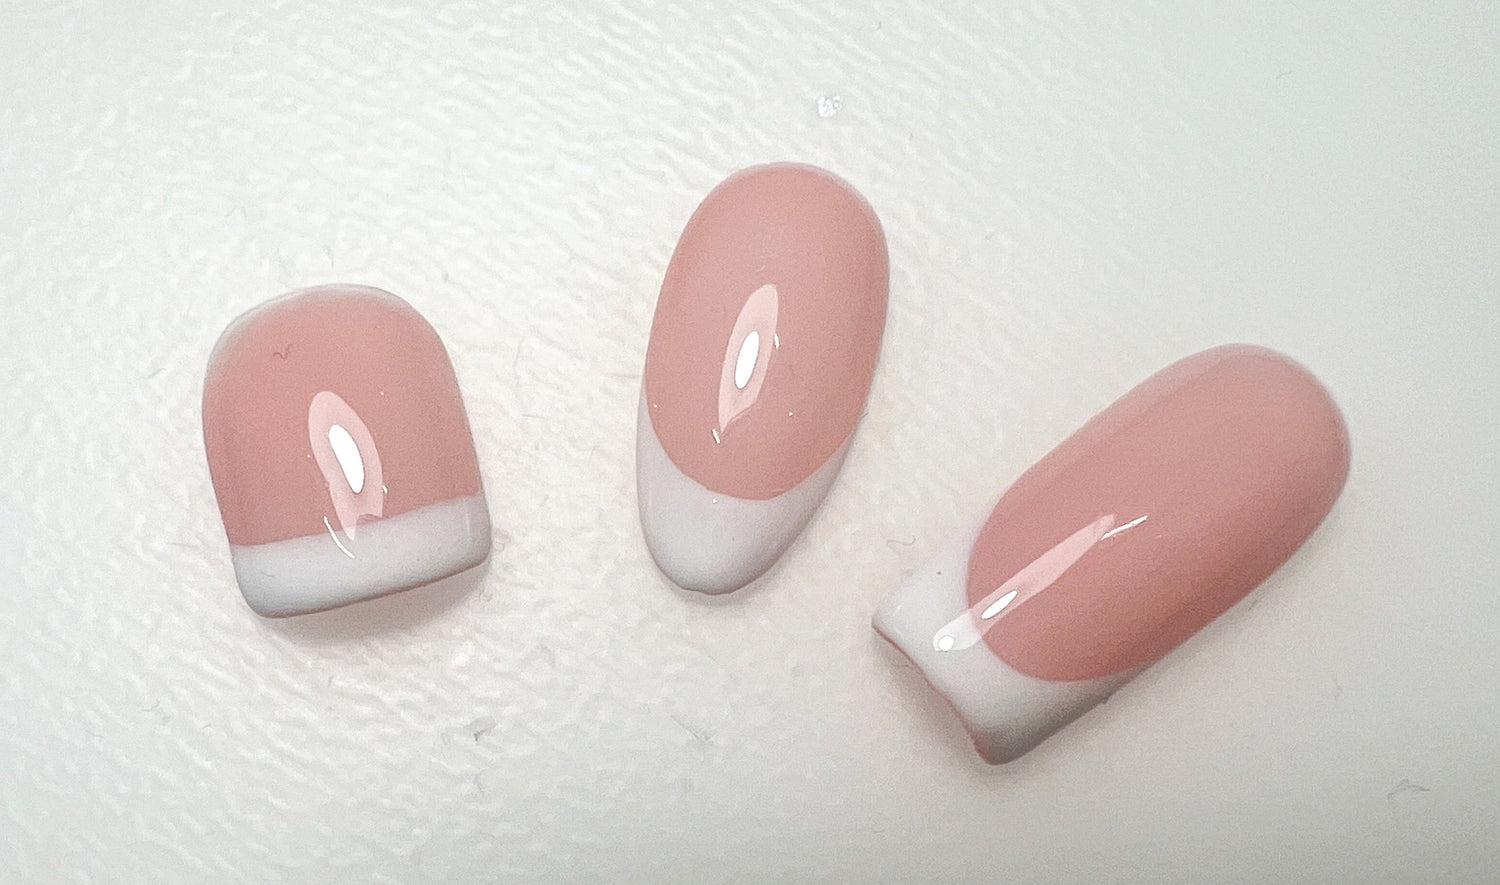
The French manicure is a classic nail look and often, a popular choice when considering a look beyond one color for those new to wearing nail designs. The signature minimal white tips and pink base offers a simplicity and elegance that compliments any outfit, which was a large part of the appeal and popularity when the French manicure was introduced in the mid-seventies. It is useful to know how to create French tips as a minimalist nail art look that is commonly requested by clients if you are a nail professional. However, it is also useful to know how to paint French tips as a DIYer or nail art enthusiast as French tips can also serve as a base for more intricate nail art designs. Read on to learn a few different ways to achieve french tip nails using gel.
Despite its name, the French manicure actually originated in Hollywood. While it is believed to have been invented by Max Factor, a cosmetic pioneer and makeup artist in the 1930s, it was Jeff Pink, a Hollywood beauty supplier, who introduced it in the 1970s as a way to simplify and quicken polish changes for actresses during wardrobe changes. Back then, it was custom to match actresses’ nail polish with each outfit change. However, the process was very time consuming, resulting in the complaints of movie directors for manicurists to come up with nail looks that would be more adaptable and efficient.
Pink’s natural-looking nail design not only saved time and money for the movie studios, but also suited any outfit. Afterwards, the versatile nail look was brought to Paris Fashion Week and worn by numerous models, leading to the look to be known and coined by Pink as the “French manicure.” Shortly after, the nail look became popularized by Cher and Barabra Streisand as they were separately seen on The Tonight Show Starring Jonny Carson wearing the simple yet iconic French manicure.
Today, the French manicure has taken on new variations and spin-offs. However, the appeal that remains the same is a versatile look that complements any style and outfit. The original French manicure was done using polish, but it can also be achieved using gel as a modern nail enhancement preference.
Although French tip nails look simple and easy to achieve, more sophisticated French tip designs, such as those with a deeper smile line, require a steady hand, a good brush, and pigmented white gel paint.
If working with gel, you will want to select a natural looking pink or nude color as the base. Syrup gels work exceptionally well for French manicure base colors since they offer a translucent appearance for a minimal and natural look.
Whether you use a traditional white color or a different color for the French tips, a pigmented gel paint will work best. This is so you won’t have to apply another layer to achieve saturated color, saving on time.
To paint the tips, you will need a brush. The different techniques of how to achieve a French manicure using gel will depend on which brush you have or choose to use. It is useful to know different techniques in case some tools may not be accessible or certain nail looks might require different techniques.
Technique 1: Using a Specialized French Tip Brush
The most convenient technique to achieve a French manicure would be to use a specialized brush made for painting French tips such as the following brushes:
MAYO French Brush
JIN.B Gracia Smile Brush
These brushes contain bristles shaped in a curve and the right tension to paint standard French tips effortlessly.
Technique 2: Using a Clean-Up Brush
If you are painting shorter nails or French tips that have less of a curve and are more traditional, using a cleaner brush can be a way to achieve French tips.
For this technique, use the desired gel color to apply color at the tips. For this technique, the application of color at the dips does not have to be neat or clean. Next, dip a clean-up brush, typically a square or round brush, in a small dappen dish of acetone.

Swipe the clean-up brush across the nail, wiping away gel paint at the base to create a clean slightly curved line. Once the desired look has been achieved, fully cure.

Technique 3: Using a Liner Brush
If you are seeking a more customized French tip look, using a liner brush will be best to paint French tip smile lines. By using a liner brush, you can create a deeper or more customized smile line.
Load the liner brush with pigmented gel paint and paint the smile line across the nail. Start from the side of the nail and paint a curved line towards the free edge center of the nail. For a deeper smile line, start from the lower base of the nail. For a slightly curved smile line, start at the middle of the nail. For less of a curve, start slightly lower from the free edge. To connect the smile line, start from the opposite side of the nail parallel to the starting point of the first line and paint a line towards the free edge center, where the first line ends.

Then using the gel application brush, a thin square brush, or the liner brush, fill the tip area with color. It may help to look at the nail at different angles by flipping the hand over and observing the sides of the nail to ensure clean lines. Make sure to fully cure once the tip has been painted.

Whether you are creating French tips on yourself or on someone else, knowing various techniques to achieve French tips can make the manicure process more efficient for different nail situations. Regardless of which French tip style or technique you choose, your French manicure will look timeless and versatile.


Leave a comment
All comments are moderated before being published.
This site is protected by hCaptcha and the hCaptcha Privacy Policy and Terms of Service apply.